Many people ask about the best kiln to buy. Sometimes they mean the cheapest, but mostly
they mean the best for their favoured processes. To get the best from your proposed
kiln, you should be aware of its characteristics and how it fits your proposed
kilnforming practice. There are a range
of factors that interact to give the special conditions of your kiln. They range from the purpose, the materials of
construction, the placement of heating elements, how it opens, and its shape. All these can affect the degree of even
heating of the kiln bed or shelf.
Kiln types
There kilns for many purposes. Some of them are powder
coating of metals, enameling of metals, vitreous painting of glass, glass
forming, ceramics, casting of glass and metals, lehrs for annealing, and
furnaces among many others.
 |
| Large powder coating kiln |
 |
| Large enameling kiln |
 |
| Jewellery enameling kiln |
 |
| Electric glass painting kiln with multiple shelves |
 |
| Example of a sheet glass annealing lehr |
For our
purposes we are concerned with the glass and ceramics kilns.
In general ceramics kilns are made to lose heat slowly,
while glass ones are designed to lose heat relatively quickly. There are many glass kilns based on ceramic
ones. You should be aware of the differences
between kilns designed exclusively for glass and those based on ceramics kiln
designs.
 |
| Small ceramic kiln |
 |
| Small glass kiln |
Construction Materials
The materials used in constructing kilns are refractory
insulation and a steel structure of a design to hold all the refractory
materials together.
Refractory bricks for glass kilns are light weight and
usually designed for temperatures under 1200°C (dense bricks rated much higher
are normally used in ceramic kilns).
 |
| Light weight refractory brick |
Bricks tend to be used in most glass kilns
on the floor as well as the walls (some smaller ones use only refractory fibre).
 |
| Small fibre kiln |
Kilns derived from ceramics tend to have brick walls and
lids. Most kilns designed for
kilnforming have fibre walls and lids.
In the cases of top hat opening kilns, fibre is a necessity to reduce
the weight of the lid.
Fibre board and fibre blanket are used widely. The floor tends to have a floor consisting of
steel, fibre board on top and brick on top of the board. Fibre blanket tends to
be used on the walls and ceilings of rectangular glass kilns. Oval and circular
ones tend to have brick walls and ceilings.
The use of fibre board and blanket walls and ceilings leads to a more
rapid cooling than those with brick ones.
This will affect the scheduling of the kiln firings.
The steel used to contain and support the refractory
materials is important. Many kilns use
mild steel in sheet form to fill the spaces between the heavier structural
support steel. The higher quality kilns
use stainless steel sheet, even though they may use mild steel for structural
support. The stainless steel lasts much
longer than mild steel, especially when there is liable to be moisture involved
in the kiln processes, such as pate de verre or casting.
Opening Method
The purposes for which you want to use the kiln relate to
the firing characteristics needed.
 |
| Top opening |
Top opening kilns have the advantage of depth,
normally with elements around the sides.
This makes them good for casting, but not so good for processes that
need observation or manipulation. The
depth is most useful in casting and deep
slumping work, but requires a lot of experimentation to make use of multiple
shelves in one firing.
Front opening kilns have the advantage of being
able to observe the whole depth of the firing, if you protect yourself from the
heat that will be dumped from the kiln.
They often have elements on the sides which is an advantage for drops
and melts (when observation is necessary).
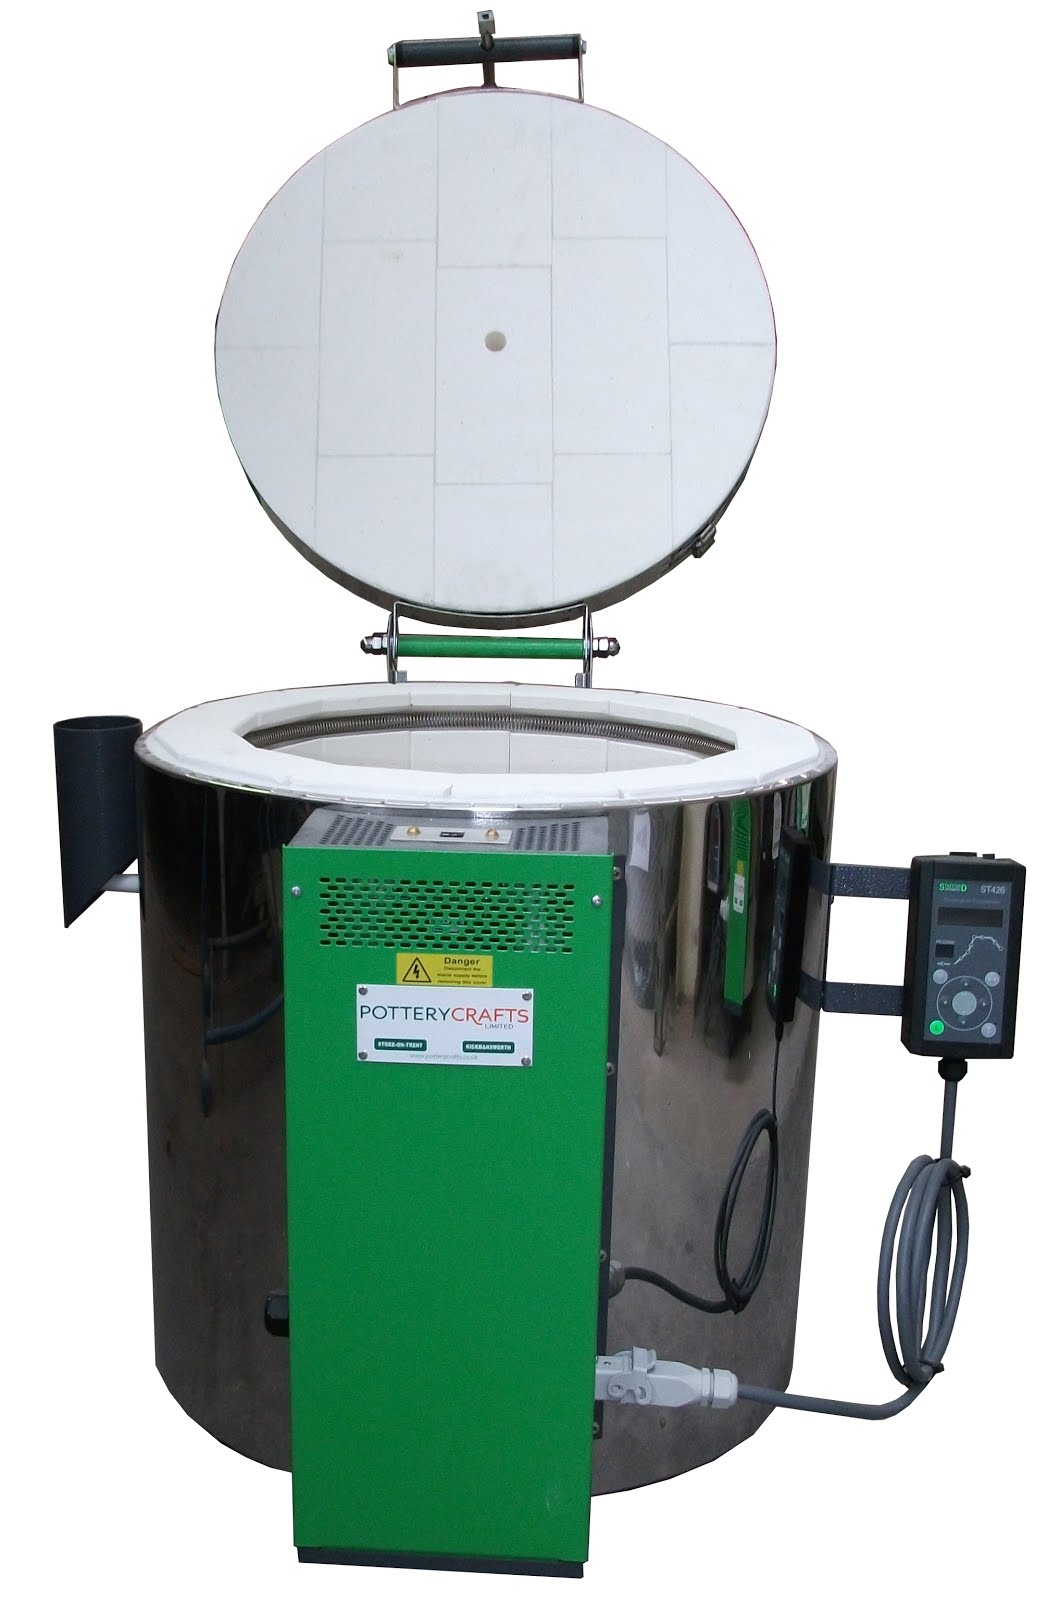
Top hat opening kilns are those that have the
whole heating chamber hinged at the shelf level. These are very good for placing of work, as
you can work directly above the pieces.
These are one of the best types of kiln for combing or any other
manipulation of the glass during the firing. You can also observe by opening
the kiln a little during the firing.
 |
| A range of top hat and a bell kiln |
Bell kilns are those where the whole of the
heating chamber lifts above the bed.
These are often equipped with two bases which can be wheeled in turn
under the chamber which is lowered before firing. These tend to be very large kilns.
 |
| Small gas fired kiln |
Heat source
Most kilns are heated with electrically powered elements,
either exposed or in quartz tubes. The
quartz tube contained elements provide more even heating than the exposed
ones. The most even heat is provided in
gas fired kilns, although these are generally more expensive and less widely
available.
Element Placing
The location of the heating elements can have a
significant influence on the way you fire your glass.
·
Top fired kilns are generally the easiest to use
as the glass is most affected by radiant heat.
·
Side fired kilns provide the radiant heat to the
edges of the glass first, before the air temperature can begin to affect the
surface of the glass. This means more
caution is required in the heat up of the glass. However, side elements are very useful in
drops and casting processes.
·
Some kilns have both top and side heating
elements. This provides flexibility in
heating up and in cooling evenly.
·
A few kilns have elements around the sides but below
the shelf. This promotes even cooling of
glass from both the top and bottom. It is most useful in dealing with the
cooling of thick slabs.
Kiln sizes and shapes
Kiln sizes have an effect on the behaviour of the
kiln. Smaller kilns (depending on the
refractory materials) generally heat and cool quicker than large ones. The mass of a larger kiln takes more energy
to heat up and more time to release the heat than smaller ones do. This will influence the scheduling for
different sized kilns.
The shape of the interior of the kiln affects the
distribution of heat within the chamber.
Rectangular kilns tend to have cooler corners than circular ones (as
there are no corners). Oval kilns tend
to give space for longer pieces and reduce the cool corners.
The height of the kiln also affects the heat distribution
within the kiln. Taller kilns are cooler
at the bottom than the top, even with side elements. They are especially good for casting and drop
processes. Deeper kilns, even if
rectangular, require more energy to complete any given process, because of the
distance between the radiating elements and the glass.
Hot and cold spots can be tested for by using this method. The actual operating temperatures can be tested by the use
Orton cones to measure heat work. This depends on the speed used to get to the
process temperature.
There are many factors that make up
the characteristics of kilns. The main ones are style, construction materials,
opening method, shape and depth. These need to be considered in relation to the
kind of kilnforming you intend doing, to make the selection optimum for your
practice.
More information is available in "Your New kiln" from Etsy shop VerrierStudio: https://www.etsy.com/uk/shop/VerrierStudio
or direct from stephen.richard43@gmail.com