There are many aspects to drilling into glass. This post reviews the major aspects.
Keeping Things Wet
When drilling glass it is important to keep the drill bit and glass wet always, otherwise the glass gets too hot and will break and cause the bonding of the diamonds on the bit to deteriorate. There are a variety of things you can do to achieve this:
Drill with the glass surface under water in a container.Drill in a ring of clay, plasticine, etc., holding water. To do this, you need to make a ring about 50mm/2" in diameter and press it around the drill site. Fill the ring with water to cool the drill site and glass. Diamond coolant is not necessary, but can extend the life of the bits.Use a re-circulating water pump such as those made for indoor water features.Direct the small flow of water (rapid drips) to the drilling site and catch the overflow in a separate bucket to the one in which the pump is submerged. This extends the life of the pump and helps prevent clog ups in the water pipe.Use a glass drill with hollow core bits and an internal water feed. This is the most expensive but it is the best equipment with which to drill holes of more than 4mm/0.158".
Drill Press
Drill presses vary from purpose-made through adaptations of industrial drill presses to hobbyist versions. For light duty drilling that most glass workers do, a small press as set up for a dremel are suitable.

Example of a rotary tool press setup
This is an inexpensive solution to holding the dril steady while drilling. It avoids the various contortions to stop the bit skittering across the glass when starting the hole.
Keeping the glass wet and cooling the drill bit for small pieces can be achieved by using a small temporary reservoir around the drill site to hold the water. Alternatively, a small receptacle to submerge the glass can be used.

A plastic take-away container to hold a quantity of water
The water needs to be deep enough to cover the glass, but not so deep that it rises to the drill chuck, as that is likely to draw water into the rotary tool and short it out. Notice also that the speed for the tool is at the minimum, because it is far too fast otherwise, and will overheat both the drill bit and the glass.
It is best to have an industrial drill press if you are doing a lot of drilling. It provides a stable drilling action and the pressure on the bit can be controlled. It is important to ensure the bit is running true without wobble. The drill press should have instructions to help correct any untrue running of the chuck. Make sure the drill bit is secured firmly. Core drill bits are easier to keep true, as they normally have a threaded fitting.
With a drill press, you can drill continually until the hole is completed, or until a white paste or dust begins to appear. This indicates the drilling is being done dry and will in a few moments heat up the glass too much. When the white paste appears, back out of the bottom of the hole a little to allow water to flush the glass out. Then continue.
Keep a firm grip on the glass being drilled. If there is any chance of the glass spinning, wear cut proof gloves. Maintain the glass position, especially if you are intending to back out of the hole intermittently to allow water to the bottom of the hole. This enables you to get back into the hole without scratches.
Submerge the piece if you are drilling without a core drill bit, if possible. But if that isn’t possible, just squeeze a little puddle of water on the surface and watch it swirl around. You can see if it is pulling ground glass out of the hole by watching the circulation. Placing a plasticine or clay dam around the drill area will keep the water confined.
Don't push down any harder than you comfortably can on the lever with the tips of your fingers. Keep it steady. Listen for the sound of diamond grinding glass

White core stuck in the drill bit
If the core gets stuck in the bit, knock it out with some stiff wire or a nail. Always remove each core right after drilling. They are very difficult to remove if there is more than one stuck.
![]()
Core pushed out with 16 gauge copper wire
When using a Dremel for drilling glass, slow it down to the minimum with the speed control. Drill presses do tend to be on the slow side for glass drilling so it takes a bit longer, but there are big advantages in other respects.
Drilling with a Flushing Head

A Typical Drill Press Set Up
A flushing head with a re-circulating pump will deliver water to the drill site through the core of the drill. These are supplied complete or as a fitting for an existing drill press. This is suitable for holes of 4 mm and larger. Smaller core drills are impractical both because the glass is easily trapped in the drill and the wall thickness of the drill makes them almost solid anyway. An additional requirement is to have a means to direct the water to the waste bucket.

Pump (black) at the bottom and flushing head where the water enters (chrome) at the top
Avoiding Chipping
There are a number of methods to avoid chipping out the back of the glass when drilling:
Place a piece of scrap glass under your good glass to avoid break-outs on the backside. By pressing firmly but gently on the glass (not the bit) the bit will go through the upper piece of glass without major chipping the back. This can be a difficult process to keep stable when both the pieces of glass are wet.

Another method is to put duct tape under the glass to help minimise chip out.
Although I find a smooth firm base is best - it could be wood, hard plastic, or any other thin firm material that will not dull the bit when it goes through at the end of drilling.
A further process, used in industry, is to drill from both sides to avoid chip out. Go slowly toward the bottom of the hole. When the hole is almost through, turn the glass over and drill back to front. It is critical to centre the drilling on the back exactly with the hole on the other side.
Sometimes the glass is curved and drilling from the back is not easy. This is when a drill press mechanism to stop the bit comes into its own. Before switching the drill on, lower it to the surface supporting the glass. You can adjust the mechanism to stop the press just as it reaches the support surface. Then place the glass under the press and the turn the drill on to begin the drilling.
Don't push hard as you come to the end. Don't push down any harder on the drill press levers than you comfortably can with the tips of your fingers throughout the process. Keep it steady. Listen for the sound of diamond grinding glass.
All these things will help to avoid chipping out the glass at the bottom of the hole.
Drilling holes with copper tube and grit
You can drill holes by using loose grit and a copper tube of the correct diameter. It can take quite a while. You will need to have a chuck big enough to take the tube, or have a means to reduce the tube diameter to the chuck size. Alternatively, use core drills that have had the diamonds worn away. This is not a common process, now that diamond drill bits are more affordable.
Prepare the glass as for a drill press without a flushing head, so the water and grit are confined. The dam can be putty, plasticine, clay, or other mouldable material put around the area to be drilled. The grit can be sandblast grit or other abrasive of about 100 to 200 grit. Drill as normal.
Tools
There are a variety of tools that can be used to power glass drills.
Dremel and similar rotary motors
These are light duty high-speed drills. Those with variable speed controls are especially useful. They work best for small diameter holes. They must have the speed turned down for drilling, especially for larger holes. These can be combined with a flexible drive shaft for lighter weight, but a drill press is much more stable.
Drill press
However, the most important thing to have when drilling glass is a drill press. Doing it by hand is very difficult and wears out diamond bits very fast. Dremel and others make drill presses for their tools, as illustrated earlier.
Drilling machines

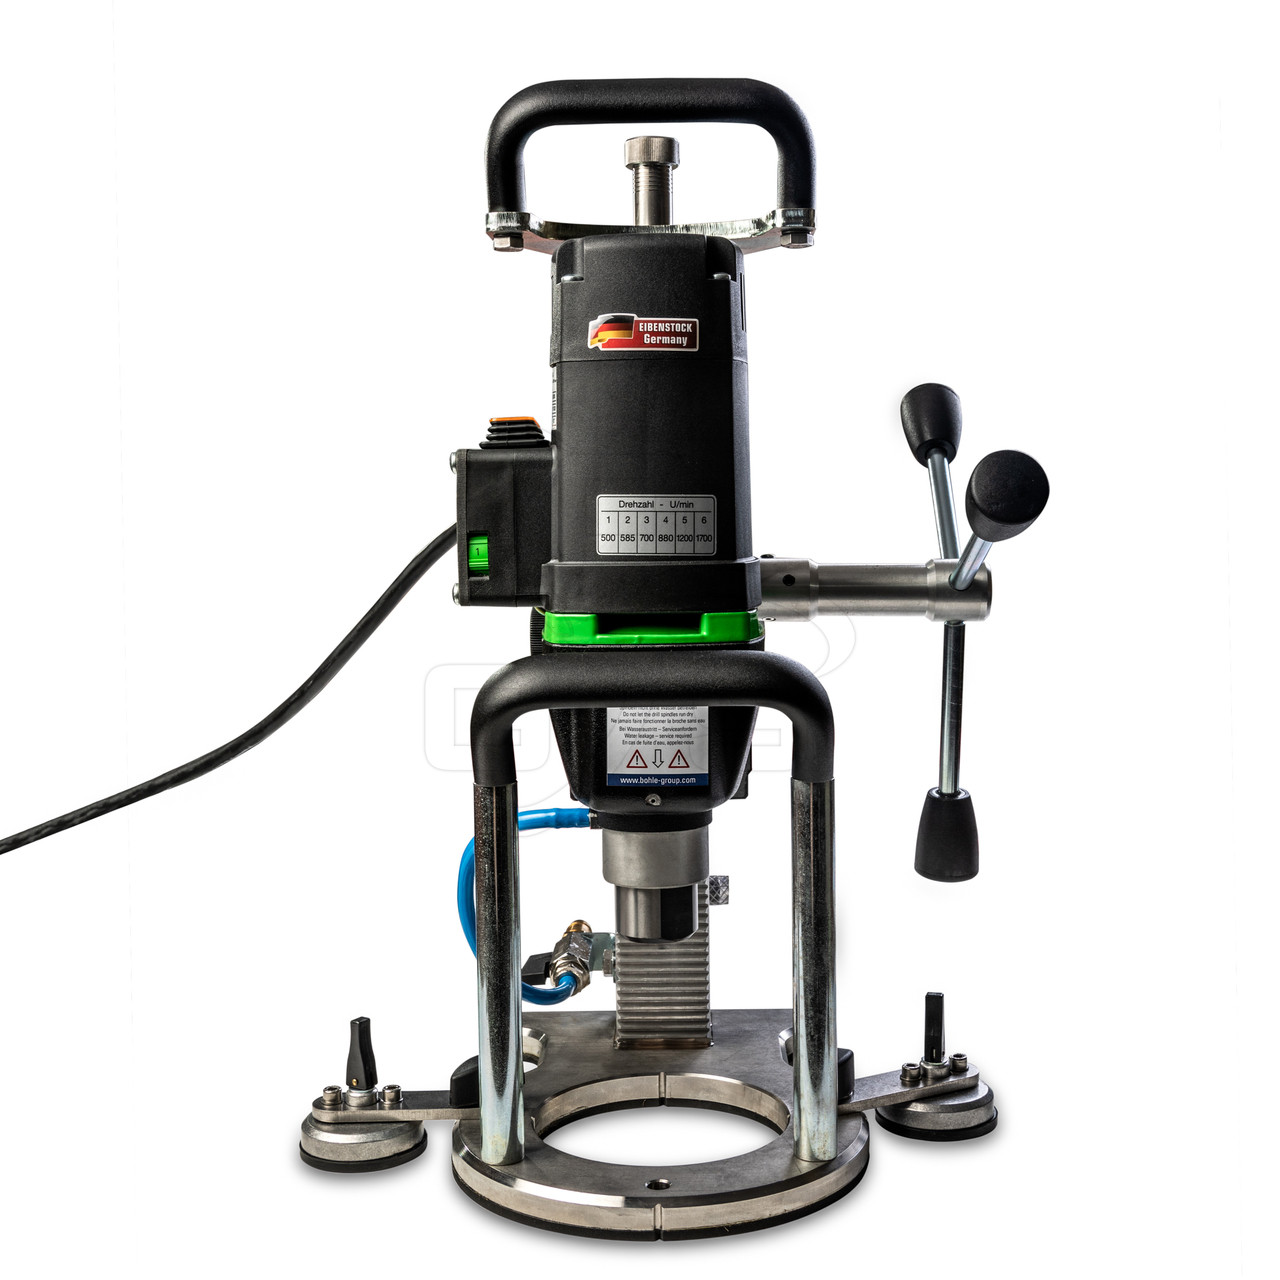
A portable glass drilling machine
Purpose-made glass drilling machines are important for larger holes and production work. The important thing about these is that they use hollow core drill bits, allowing the water to be fed through the drill bit directly to the glass-drilling site.
Drill bits
The other tool needed is drill bits. The recommended type depends on the size of hole to be drilled.
- Small diameter holes, up to and including 3 mm can use solid diamond-tipped bits. A number of manufacturers make solid drill bits from 2-6 mm and some (especially lapidary suppliers) make the very small diameter bits less than 1 mm.
- Larger diameter holes are best drilled with hollow core bits, as less glass needs to be removed to achieve the hole. These can be used with a flushing head or simply by directing water to the drill bit, with a dam to hold the water around the site.
- The bits will last longer if you use a drill press. The press keeps the bit wobble to a minimum and maintains the vertical, both helping to reduce the wear on the bit.

A selection of hollow core drill bits, wire and punches to clear the drill bit of stuck cores, and dressing stones
Hollow core bits
Hollow core diamond bits are of two types:
- One -where a heating process attaches the diamond - is called sintered in Europe and a number of other countries. These are long lasting and more expensive than the alternative. They can be dressed with an aluminium oxide dressing stick to maintain their effectiveness.
- The second – where the diamond is bound to the metal with resins – is called bonded in Europe. These are less expensive and are a good alternative for those drilling smaller quantities of holes. Bits of this type of bonding wear more quickly and should not be "sharpened" with dressing stones.
A diamond core drill breaks out much less glass at the bottom of the hole than a solid drill bit. So they are quicker and have a lower risk of creating failures. Buying better (more expensive) bits is worthwhile as they work much better and last much longer than the cheaper ones.
Water pump and reservoirs
A further tool that is useful to have is a pump. This can be a small fountain pump with a valve to regulate the flow, and a flexible spout to aim the water on the drilling site. A bucket is required to act as the catch basin for the water that comes off the drill and and another as the reservoir for the pump.
Drilling glass without a drill press
It is best to have a drill press for drilling holes in glass, but there are ways of doing it with a hand drill. Make a ring of modelling clay, plasticine, putty or other mouldable material about 5cm/2" in diameter and press it around the drill site. Fill the ring with water and a little diamond coolant if you like. The liquid will cool the drill site and surrounding glass as well lubricate the drill bit. Adding diamond coolant to your water can extend the life of the bits.
Use a paint pen to mark the spot where the hole is to be. Without a drill press, starting at an angle with a slow drill speed will stop the bit from sliding around as you establish the drilling point. As the glass surface is roughened, bring the drill to vertical. Move the drill up and down a little as you drill to allow the water into the hole. If you are using a solid or spade drill, a little oscillation keeps the bit from jamming in the hole. This process is suitable for solid drill bits. Do not do this with a core drill, as it may damage the edge of the bit and wears diamonds further up the bit.
Drilling speeds for diamond bits in glass
Every diameter drill bit has an optimum drill speed. The smaller they are the faster the speed. Drill presses do tend to be on the slow side for glass drilling, but often have ways of altering the speed. So they take a bit longer, but there are big advantages in other respects, mainly less wear on the bits and fewer break outs.
Diameter -- Speed
3-4 mm -- 6000 rpm
5-8 mm -- 4500 rpm
9-12 mm -- 3000 rpm
13-16 mm -- 2500 rpm
17-25 mm -- 2000 rpm
26-28 mm -- 1800 rpm
29-44 mm 1500 rpm
45-64 mm -- 1200 rpm
65-89 mm -- 900 rpm
90-120 mm -- 800 rpm
[Based on CR Lawrence and Amazing Glazing recommendations]
As you can see the larger the diameter, the slower the speed. This is because you are attempting to keep the speed of the diamonds moving against the glass at approximately the same speed, regardless of the diameter. If you did not slow the speed as the diameter went up, the speed of the diamonds across the glass would increase, leading to overheating of the bit and reduction in its life.
Hole Placement
The general rule on drilling holes in glass is that the edge of the hole should be further away from the edge than the thickness of the glass. This means that the edge of the hole on a 6 mm thick piece of glass must be more than 6 mm from the edge of the glass.
The calculations are simple arithmetic. You calculate the centre point of the hole by adding the radius of the hole to the thickness of the glass plus at least 1 mm. For example, to drill a 10 mm hole in 6 mm glass, you add 5 mm (radius of hole) to 6 mm (thickness of the glass) plus 1 mm = 12 mm as the minimum distance from the edge of the glass to the centre of the hole. For methods of centring the drill see here. Remember this is the minimum distance. For safety and durability in architectural or heavy circumstances, an additional margin must be added.