Wednesday, 4 August 2021

Deep moulds


What is the relation between the diameter and depth of a mould and the diameter of the blank to be slumped into it?  Is there an equation? For example, a mould of 6.5 inches diameter and 3.5 inches deep.


The above example is a deep mould. When compared to the diameter it is more than half the diameter deep. It is a difficult style of mould for many kiln formers.

To explain, some of the differences between deep and shallow moulds needs to be noted.  Deep and shallow are descriptions for the relationship of the span (or space from side to side) to the depth (the distance the glass must slump into the mould).

A 150mm square bowl that is 50mm deep

       Shallow moulds are easier as there are no steep curves to form into. Gentle compound curves generally provide no greater challenges. Shallow moulds with angular corners or abrupt changes of curve to the bottom are moderately more difficult than simple curves.

       Deep moulds are difficult. An example of this is the successful deep vessels of Karl Harron where it is necessary to form the glass through three successively deeper moulds.  His vessels are often deeper than the diameter, making them among the most difficult kilnformed vessels to achieve except roll-ups, which are a combination of kilnformed and blown.

The difficulties with deep moulds are multiple.
·        The glass must stretch more than in a shallow one where only a change in shape is required.
·        As the depth increases, the upper rim is heated more than the centre, being closer to the heat source.
·        The edge develops needle points and stretch marks.
·        The blank becomes smaller in diameter than the rim of the mould.
·        As it slips down into the mould the softened rim of the glass catches on the mould and produces stretch marks.
·        If the upper rim is significantly hotter than the centre, needle points are left on the edge where it catches the mould and stretches to very thin points.


Because of the depth, you will find the finished glass diameter will be smaller than the rim of the mould.

An example of an apparently shallow bowl until you take account of the size of the inner part, making this a deep bowl.  


Over hanging blanks

Do not be tempted to make the blank much bigger than the mould. The most you should risk is 12mm larger diameter than the mould. This means only 6mm is over the edge of the mould.

In deep moulds where I am doing only one slump, I find better success in making the glass slightly smaller than the mould diameter, so the glass does not hang up on the edges.

A blank larger than this mould is likely to hang up on the narrow rim of the mould, and the blank should be slightly smaller than the interior of the rim.

Multiple Moulds
Because deep moulds are difficult to do in one firing, it is best is to start with a larger blank in a shallower mould and transfer the formed piece to successively deeper moulds. 

Some experimentation will be needed to determine the starting size, of course.  A guide would be to measure the length of inside curve of the deep mould from one edge along to the bottom and up to the other side with a flexible measuring tape.  This will give the approximate diameter needed for the blank.  

I start off with a blank of about 25mm less than the measured diameter.  This is to allow for the stretching that is going to occur even at low temperatures. Cut and fuse a clear blank for the test. Find a shallow ball mould of that diameter or larger and slump into it. A second mould may be needed that is deeper and of the size of the now slumped piece with a smaller than original span.  By this second slumping, the piece may fit into the deep mould for the final slumping.


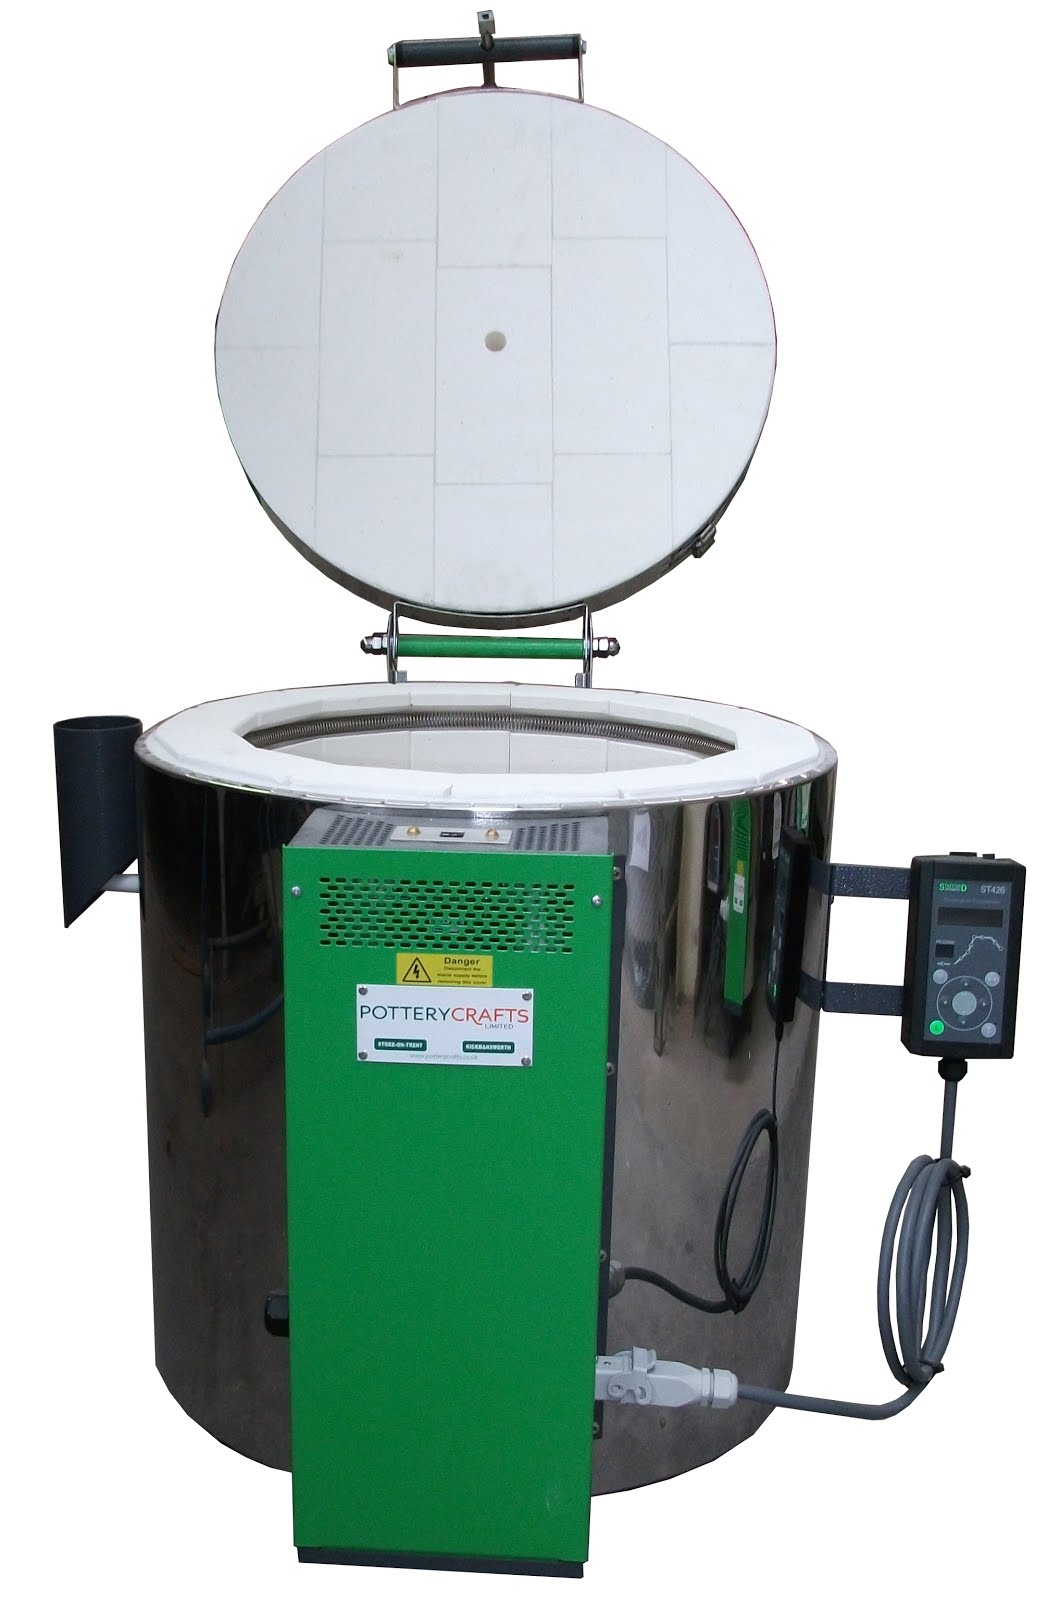
Firing for deep moulds
To fire deep moulds successfully, you need to go slowly (maybe only 75C per hour for 6 mm) up to a low slumping temperature (maybe 630C for 60 to 90 minutes).  This slow rate of advance allows the heat to be distributed evenly throughout the piece.  A low temperature avoids over-heating the rim of the piece during the slumping.  The long soak allows the glass to gradually conform to the shape of the mould without excessive marking.

It is important to monitor the firing of deep moulds.  It is common for the glass to slump unevenly.  Peeking and being prepared to reach into the kiln to shift the glass or even tilt the mould so the lowest part is elevated to receive more heat is important to succeed in slumping into deep moulds. 


Deep moulds require a lot of effort to achieve successful results. You must give special attention to temperatures, rates of firing, soaks and consider the use of multiple slumps – each deeper than the previous.

Further information is available in the ebook: Low Temperature Kiln Forming.

Wednesday, 28 July 2021

Vitrigraph Pot Liners


Stainless steel vitrigraph pots are durable replacements for ceramic pots that do not last many -  if more than one - firings. But cleaning is not straight forward. Most recommendations seem to concentrate on cleaning by banging the metal to break the glass away from the sides and bottom.  This seems more brutal and noisier than necessary. It will eventually dent the metal and possibly become unusable.

An unlined ceramic pot


An alternative is to line the sides with 1mm or 2mm fibre paper.  Paper of this thickness has enough fibres that the paper will stick together and not contaminate the pull.  It will still protect the metal from glass sticking At the conclusion of the firing and after the cool down, you can remove the fibre paper and have clean sides.

Instead of placing the glass in a bare pot, you can  line the pot with fibre paper 
 

It is possible to put a piece of fibre paper on bottom with a hole in it to match the pot’s hole.  There is a slight risk of drawing fibres into the pull, although I have not experienced it yet.

This method also works with ceramic pots.

Wednesday, 21 July 2021

Viscosity of Colours

“I have been advised in the past, that blue fires quicker. I was told this by a Master glass maker.”

Viscosity has some relation to colour and intensity.  But you should note black & stiff black are both of the same intensity, and are fusing compatible, but have different viscosities.  This shows that colour is not the only determinant of viscosity, as the stiff black shows the viscosity can be adjusted within the same colour.  The quotation above indicates that the reasons behind any declarative statements need to be investigated.

Some factors in viscosity
Opalescent colours tend to be more viscous than their transparent counterparts.

It is the metals that develop the colours that produce much of the difference in viscosity.  The same metal can produce different colours in different furnace conditions, so viscosity cannot be assumed to be directly related to colour. 

Some people in the past have done their own tests on viscosity and colour relationships, but I have no access to them.  More recently Bob Leatherbarrow shows (Firing Schedules for Kilnformed Glass, 2018, chapter 7.2.5, p.88) some slumping tests done with opalescent glass. It shows how much less viscous black is than white, and that white is the most viscous.  The other results show red a little less viscous than white, then some greens, yellows and oranges, other greens, purple, pinks (in that order) and of course, the least viscous is black.


Transparent glasses tend to be less viscous than opalescent glasses.


How does this information relate to kilnforming practices?  It indicates that a piece with the less viscous glasses requires lower temperatures or less heat work to complete the forming of the glass than more viscous glasses.

When you have a combination of more and less viscous glasses in a piece you need to fire more slowly to ensure all the glass is thoroughly heated through and will deform equally.  You will need to observe and be prepared to move the piece on the mould to straighten it up.

Do your own viscosity tests
You can do your own tests for viscosity differences by arranging 10mm wide strips all the same length (about 30cm) of different colours. These should be placed on a kiln washed pair of narrow batts set parallel to each other 25cm apart and about 15cm high.  Fire at about 150°C per hour to about 650°C, setting the soak to 30 minutes.  Observe at intervals from 620°C.  Stop the firing when the least viscous has almost touched the floor of the kiln. When fired all together at the same time you can see the relative viscosity of the colours tested.  You can label these and store them, or tack fuse these labelled curves to a piece of base glass for future reference.


Wednesday, 14 July 2021

Achieving the Striking Colour

"Is there anything special I have to do to fire striker glass?  Can I mix striker and non-striker in the same kiln or piece?"

Strikers generally need a two-hour soak at slumping temperatures, about 660C.  This heat soak helps ensure full development of the colour. If the soak is not long enough, the colour may not achieve the target colour at all, or be paler than anticipated.

The rate of advance to the heat soak is not critical.  But it does need to be the appropriate rate for the thickness and nature of the assembly of glass being fired.

If you were to have too short a heat soak, you can fire again to help mature underdeveloped colours.  This will, of course, change the profile of the finished piece.


Strikers are compatible within their manufacturer’s own range. So, they can be combined in the same piece as any other of the glass in the fusing compatible range.  That means that they can be fired in the same kiln load as non strikers.

The two-hour soak at slumping temperature will not harm the later stages of firing, but it might lead to use of a slightly lower temperature tack fusing than without the long heat soak.  That is because of the heat work put into the glass at the lower temperature.   Only observation will tell you how much less temperature is required.  It may be possible that only a little less time at the forming temperature is required.  Again, only observation will tell you that.


Strikers require a heat soak to mature the final colour.  These striking glasses are compatible with the rest of the fusing range from a single manufacturer. Glass from different manufacturers must be tested for compatibility before combined into a project.

Wednesday, 7 July 2021

More Information on Citric acid


Vinegar is not recommended for cleaning of glass, and especially not to soak glass in to remove kiln wash or investment materials.

The reasons for avoiding vinegar are that
·        Dilute vinegar - as culinary vinegar is - attacks glass, giving a mild etch to the surface similar to devitrification.  Concentrated vinegar – oddly - does not attack glass as strongly.
·        It is of variable quality – due to uncontrolled strength, various culinary additives, etc.,
·        It has a strong odour, and
·        It takes a long time to work.


Citric Acid


However, there is an acid which works very well to remove investment materials and kiln wash without affecting the glass.  It is the humble citric acid.

Citric acid is a weak organic acid that has the chemical formula C6H8O7. It occurs naturally in citrus fruits, although that is not the best source for cleaning purposes.

More than two million tons of citric acid are manufactured every year. It is used widely as anacidifer, as a flavouring agent and chelating agent. It is the last that is of most interest to kilnformers.

Chemical characteristics

A citrate is a derivative of citric acid. There are many formulations. Two examples are a salt that is named trisodium citrate (also known as sodium citrate); and an ester called triethyl citrate. We are more interested in the first as it is cheap and widely available.

The citrate ion forms complexes with metallic cations.  It forms complexes even with alkali metal cations. This makes citric acid an excellent chelating agent, especially of interest in removing kiln wash and refractory materials from glass.


This is a type of bonding of ions and molecules to metal ions. The agents are usually organic compounds. Chelation is useful in applications such as providing nutritional supplements, in chelation therapy to remove toxic metals from the body, in MRI scanning, in chemical water treatment to assist in the removal of metals, and in fertilisers, among other things. 


Citric Acid as a Cleaning and chelating agent

Citric acid is an excellent chelating agent, binding metals by making them soluble. Among many cleaning uses are:
    to remove and discourage the build-up of lime scale, from boilers and evaporators. 
    to treat water by chelating the metals in hard water, cleaners produce foam and work better without need for water softening. Citric acid is the active ingredient in some bathroom and kitchen cleaning solutions. 
    A solution with a 6% concentration of citric acid will remove hard water stains from glass without scrubbing. 
    Citric acid can be used in shampoo to wash out wax and colouring from the hair. 
    In industry, it is used to dissolve rust from steel and to form a coating on stainless steels to resist corrosion.


Its use in kiln forming is to make use of the chelation properties when dealing with kiln wash and investment material residues.  Aluminium hydrate is the main ingredient of all kiln washes.  When it becomes bound to glass, it is impervious to almost all chemicals.  The chelating property of citric acid enables the bond between the glass and the kiln wash to be broken by incorporating the molecules within its own, making a colloidal solution.  This process is approximately 6 times faster than any vinegar solution and without the odour and etching risks.


A sample of the affected glass followed by 4 hours in citric acid and 24 hours in vinegar.
Credit: Christopher Jeffree


A 5% solution made up with 50gm of granular citric acid in 1 litre of water is all the strength that is required. The affected glass can be soaked in this solution for the time required to complete the chelation without the risk of etching, and without needing ventilation to remove smells.  Unless you are using a lot of cleaner, it is better to make up much smaller amounts as mould can grow on this organic solution.

A 5% solution made up of 50gms citric acid in 500ml of water and 500ml of isopropyl alcohol makes an inexpensive and effective glass cleaner. However, if left for a length of time, it becomes sticky.  Apply the solution, scrub the glass and immediately wipe off the solution.  Then polish the glass dry. The alcohol in the solution makes keeping large quantites possible. 

This post was compiled with the assistance of Wikipedia, Christopher Jeffree and my own experience.

Although this post remains valid, there is another chemical for long soaks to remove mould material or kilnwash.

Wednesday, 30 June 2021

Citric Acid Cleanser


Christopher Jeffree has kindly outlined the reasons for the effectiveness of citric acid as a cleaner for removing refractory mould residue and acting on kiln wash stuck to glass.  This is his work (with a few personal notes removed).


"Citric acid works well for removing the plaster scale that builds up in vessels used to mix plaster, and it helps to remove traces of investment plaster and kiln wash from glass.  Its metal-chelating properties probably help with dissolution of calcium deposits, but I am less clear why it is so good at removing kiln wash.  The constituents of kiln wash are kaolin and alumina hydrate, neither of which I would expect to be soluble in dilute acids.  Equally, the refractory materials in investment formulae I would expect to be insoluble.  However, kaolin forms layered structures in which flakes, molecular layers, of alumina hydrate and silica interact through hydrogen bonding. It is possible (I am guessing here) that citric acid can disrupt those hydrogen bonds, thereby disaggregating the clay.  All we can say is that empirically, it works.

"I prefer to use citric acid partly because it has a defined composition, but also because it is safe and pleasant to handle – no odour, and comes in the form of easily-dissolved dry crystals like granulated sugar.  Vinegar stinks, and glacial acetic acid is  an aggressive flammable, corrosive liquid with a chokingly acrid smell.

"Calcium sulfate has low solubility, but is not completely insoluble in water - gypsum (calcium sulfate dihydrate) has a solubility of about 2.5g per litre (0.25%)  from 30-100 C. Its solubility is retrograde, meaning that it decreases, rather than increasing, with temperature.  Natural gypsum is an evaporite, a type of rock that often forms by evaporation of lake water in a geological basin with little or no outflow. It can also be produced hydrothermally in hot springs, when water containing sulfuric acid passes through limestone.  

"Calcium citrate is not very soluble either, only in the order of about 0.85g per litre, but the important thing from our point of view is not to get the material into solution but to separate its crystals and make it detach from the glass.

"In other contexts, warm citric acid is used by jewellers and silversmiths as a pickle for dissolving copper oxide (firestain) from silver and gold alloys  after heating / soldering.  It is a safer alternative to the traditional jeweller's pickle of 10% H2SO4.

"Citric acid also dissolves rust from iron, without much etching the iron itself, so is good for cleaning rust off tools etc.

"These pictures show a plaster mixing bowl with (presumably) CaSO4-rich deposit on the surface, cleaned by soaking with 5% citric acid for 4 hours,


and flash from the pate de verre castings with tightly adhering kiln wash, cleaned using 5% citric acid soaked for 4 hours, and vinegar (white wine) soaked for 24 hours.


"I'm not sure about reaction products - I was speculating a lot there, running through hypotheses that I can't support. We don't really have data on the composition of the layers that are stuck to the glass, or a clear idea of why they sometimes stick and sometimes don't (e.g. the differences between transparent and opal glasses in this respect). Maybe this would be a topic to discuss with technical people at Bullseye."

Hope this helps
Best wishes
Chris Jeffree

Subsequent to this work Christopher has done more work and found that Tri-sodium citrate is an even better chemical for cleaning glass of kiln wash and mould material.

Wednesday, 23 June 2021

Placing of glues


The placing of glues to hold the glass pieces temporarily is important.  Often unsightly black marks appear due to inappropriately placed glues.  Bubbles can form between layers  and even appear to come from underneath the glass for the same reason.  Placing is often more important than the amount of glue used.  Still, the amount used should be the minimum to hold the glass from moving from bench to kiln.

Place glues at edges of the pieces to be secured during movement.  This allows the burn-off of the glue to evaporate without being trapped under the glass.  If you use very runny or diluted glues, the capillary action will draw the required amount of glue under the glass piece to form a secure adhesion.

Glues burn off and leave the glass pieces unsecured long before the glass becomes tacky enough to stick together.  This means that if your stack of glass will not stay in place without glue as you build it, the glass will collapse or move in the kiln.  Glues are only suitable to stabilise the glass pieces while moving to the kiln.

Two recommended glues that burn off cleanly are the Bullseye Glasstac (more fluid) and the Glasstac gel (more viscous)


Wednesday, 16 June 2021

Kiln Characteristics Investigation


Many people ask about the best kiln to buy.  Sometimes they mean the cheapest, but mostly they mean the best for their favoured processes. To get the best from your proposed kiln, you should be aware of its characteristics and how it fits your proposed kilnforming practice.  There are a range of factors that interact to give the special conditions of your kiln.  They range from the purpose, the materials of construction, the placement of heating elements, how it opens, and its shape.  All these can affect the degree of even heating of the kiln bed or shelf.


Kiln types

There kilns for many purposes. Some of them are powder coating of metals, enameling of metals, vitreous painting of glass, glass forming, ceramics, casting of glass and metals, lehrs for annealing, and furnaces among many others.  
Large powder coating kiln
Large enameling kiln

Jewellery enameling kiln
Electric glass painting kiln with multiple shelves
Example of a sheet glass annealing lehr


For our purposes we are concerned with the glass and ceramics kilns.


In general ceramics kilns are made to lose heat slowly, while glass ones are designed to lose heat relatively quickly.  There are many glass kilns based on ceramic ones.  You should be aware of the differences between kilns designed exclusively for glass and those based on ceramics kiln designs.

Small ceramic kiln
Small glass kiln

Construction Materials 
The materials used in constructing kilns are refractory insulation and a steel structure of a design to hold all the refractory materials together. 

Refractory bricks for glass kilns are light weight and usually designed for temperatures under 1200°C (dense bricks rated much higher are normally used in ceramic kilns). 

Light weight refractory brick
Bricks tend to be used in most glass kilns on the floor as well as the walls (some smaller ones use only refractory fibre).
Small fibre kiln

Kilns derived from ceramics tend to have brick walls and lids.  Most kilns designed for kilnforming have fibre walls and lids.  In the cases of top hat opening kilns, fibre is a necessity to reduce the weight of the lid.

Fibre board and fibre blanket are used widely.  The floor tends to have a floor consisting of steel, fibre board on top and brick on top of the board. Fibre blanket tends to be used on the walls and ceilings of rectangular glass kilns. Oval and circular ones tend to have brick walls and ceilings.  The use of fibre board and blanket walls and ceilings leads to a more rapid cooling than those with brick ones.  This will affect the scheduling of the kiln firings.

The steel used to contain and support the refractory materials is important.  Many kilns use mild steel in sheet form to fill the spaces between the heavier structural support steel.  The higher quality kilns use stainless steel sheet, even though they may use mild steel for structural support.  The stainless steel lasts much longer than mild steel, especially when there is liable to be moisture involved in the kiln processes, such as pate de verre or casting.

Opening Method
This post gives a description of the common methods of opening the kiln.  
The purposes for which you want to use the kiln relate to the firing characteristics needed.
Top opening

Top opening kilns have the advantage of depth, normally with elements around the sides.  This makes them good for casting, but not so good for processes that need observation or manipulation.  The depth is most useful in casting  and deep slumping work, but requires a lot of experimentation to make use of multiple shelves in one firing.

Front opening kilns have the advantage of being able to observe the whole depth of the firing, if you protect yourself from the heat that will be dumped from the kiln.  They often have elements on the sides which is an advantage for drops and melts (when observation is necessary).

Top hat opening kilns are those that have the whole heating chamber hinged at the shelf level.  These are very good for placing of work, as you can work directly above the pieces.  These are one of the best types of kiln for combing or any other manipulation of the glass during the firing. You can also observe by opening the kiln a little during the firing.

A range of top hat and a bell kiln

Bell kilns are those where the whole of the heating chamber lifts above the bed.  These are often equipped with two bases which can be wheeled in turn under the chamber which is lowered before firing.  These tend to be very large kilns.


Small gas fired kiln


Heat source
Most kilns are heated with electrically powered elements, either exposed or in quartz tubes.  The quartz tube contained elements provide more even heating than the exposed ones.  The most even heat is provided in gas fired kilns, although these are generally more expensive and less widely available.

Element Placing  
The location of the heating elements can have a significant influence on the way you fire your glass.
·        Top fired kilns are generally the easiest to use as the glass is most affected by radiant heat.

·        Side fired kilns provide the radiant heat to the edges of the glass first, before the air temperature can begin to affect the surface of the glass.  This means more caution is required in the heat up of the glass.  However, side elements are very useful in drops and casting processes.

·        Some kilns have both top and side heating elements.  This provides flexibility in heating up and in cooling evenly.

·        A few kilns have elements around the sides but below the shelf.  This promotes even cooling of glass from both the top and bottom. It is most useful in dealing with the cooling of thick slabs.

Kiln sizes and shapes
Kiln sizes have an effect on the behaviour of the kiln.  Smaller kilns (depending on the refractory materials) generally heat and cool quicker than large ones.  The mass of a larger kiln takes more energy to heat up and more time to release the heat than smaller ones do.  This will influence the scheduling for different sized kilns.
 
The shape of the interior of the kiln affects the distribution of heat within the chamber.  Rectangular kilns tend to have cooler corners than circular ones (as there are no corners).  Oval kilns tend to give space for longer pieces and reduce the cool corners.
 
The height of the kiln also affects the heat distribution within the kiln.  Taller kilns are cooler at the bottom than the top, even with side elements.  They are especially good for casting and drop processes.  Deeper kilns, even if rectangular, require more energy to complete any given process, because of the distance between the radiating elements and the glass.

Hot and cold spots can be tested for by using this method.  The actual operating temperatures can be tested by the use Orton cones to measure heat work. This depends on the speed used to get to the process temperature.


There are many factors that make up the characteristics of kilns. The main ones are style, construction materials, opening method, shape and depth. These need to be considered in relation to the kind of kilnforming you intend doing, to make the selection optimum for your practice.


More information is available in "Your New kiln" from Etsy shop VerrierStudio: https://www.etsy.com/uk/shop/VerrierStudio
or direct from stephen.richard43@gmail.com

Wednesday, 9 June 2021

Large Tiles for Kiln Shelves


Pizza stone in use


People frequently wonder if other materials than mullite can be used for kiln shelves.  Mullite is used for its strength and very small expansion, even at high temperatures, as used in ceramics firing.  There are other materials that can be used in kilnforming of glass such as refractory fibre board, and ceramic pizza stones,  the best of which are made from mullite.  This post is about using ceramic floor tiles.

An unglazed floor tile, 11 x 11 inches

Structural Soundness

A major element in obtaining and using a floor tile is how sound it is.  Tapping the tile to determine whether the sound is a low toned ring or a dull thud is important.  There may be invisible cracks within the tile.  A dull thud is an indication that the whole tile has one or more cracks in it, or that it has not been fired high enough to completely vitrify the clay. A low frequency tone indicates there are no cracks and that it has been fired sufficiently high.


Flatness

The first thing you need to do is make sure the ceramic tile is flat and without undulations before using it. To test this, get a straight edge and move it along the tile to look for any slivers of light coming through underneath the straight edge. Any light or variation in the amount indicates depressions that can produce bubbles during the firings. Do this test at least twice at right angles to each other.  Take note of the depressed areas (or even possibly high areas) to know where these uneven areas are to work them out of the tile. 

You can do the above test in the showroom.  Another more accurate means of checking is more difficult to do in a sales area.  Place a line of dark powder, say black glass powder, and with a straight edge held vertical to the shelf, drag the powder across the shelf.  Where there are dark patches is an indication of depressions.  The area and depth can be seen from the spread of the visible powder and to some extent the density of the colour.


Making Shelf Flat

If you buy two of these large tiles, you can rub them together face to face in circular motions. The abrasion marks will show the high spots, with the low spots clear of those marks.  This will indicate the amount of work needed to get the whole surface even.  The smaller the unmarked areas, the less grinding will be required. You can add an abrasive with some water to form a slurry and continue to grind until everything is even. The use of water with the abrasives is important to eliminate dust which might be harmful, and to ease the grinding process.


The above is a manual process.  If you have a large enough flat lap, you can mechanise the flattening process.  Using decreasing grit sizes, you can grind the shelves level with a high degree of smoothness. You do not have to use a grit of less than 200, as the tile structure is even more coarse than that.


If you can't find unglazed floor tiles, you need to look at the back of the tiles.  Many floor tiles have a grid pattern on the back to ensure sufficient adhesive is used.  This makes getting the back, unglazed side flat more difficult or time consuming, because they will need to have the grid ground down to the lower surface.  In this case, it may be that you need to sandblast the glazed side before making sure it is flat.  The sandblasting can make a flat tile uneven by unequal times spend on various parts of the tile, so you have to check after sandblasting for the flatness.