Bas relief moulds that have an image carved into the
surface are popular at the moment. They are most often called texture
moulds. The image is “carved” into the
back of the glass, creating uneven thicknesses of glass that refract the light
to show the image through the smooth plane of the front.
One of the problems with these kinds of moulds is that lots
of bubbles are created, often very large ones.
This results from the many places where the air cannot escape from under
the glass during the forming process.
Solutions
There are some strategies that can help avoid these
bubbles.
Use the 6mm rule
Fuse the glass into a six-millimetre thickness first. Two layers of glass give more weight to help
the glass conform to the texture of the mould.
It also resists bubble formation more than a single layer.
It more important to have low and long bubble
squeezes. The most successful strategy
will have a slow rise in temperature to put as much heat work into the glass as
you can before the bubble squeeze. The
bubble squeeze is the most important part of firing these texture moulds. It will start at about 600°C rising at only
about 25°C/hr to around 680°C – that is, taking three to four hours.
Use slow rates of advance
A third element is to rise slowly toward the forming
temperature. Possibly nothing faster
than 75°C. This enables you to keep the
forming temperature much lower than a fast rise will. The usual temperature recommended is about
780°C.
By using a slow rate of advance you can probably reduce
the forming temperature by about 20°C.
You will need to peek at intervals to be sure the glass has taken up the
required texture. Again, it is about putting as much heat into the glass at as low
a temperature as possible.
Use Long soaks
An alternative to the slow rate of advance is to use a
long soak at as low temperature as seems suitable. You will need to peek at intervals to
determine when the texture is achieved.
When the appropriate texture is imparted to the glass, you need to
advance to the next segment. This means
that you need to know how to get your controller to skip the following
segment. Or, if the texture is not
achieved before the end of the scheduled soak, how to extend the soak
time. If you are using 760°C as you
target temperature with a rise of 150°C, you may wish to soak for about an hour
or more. Remember that this is in the
devitrification range.
Alternative
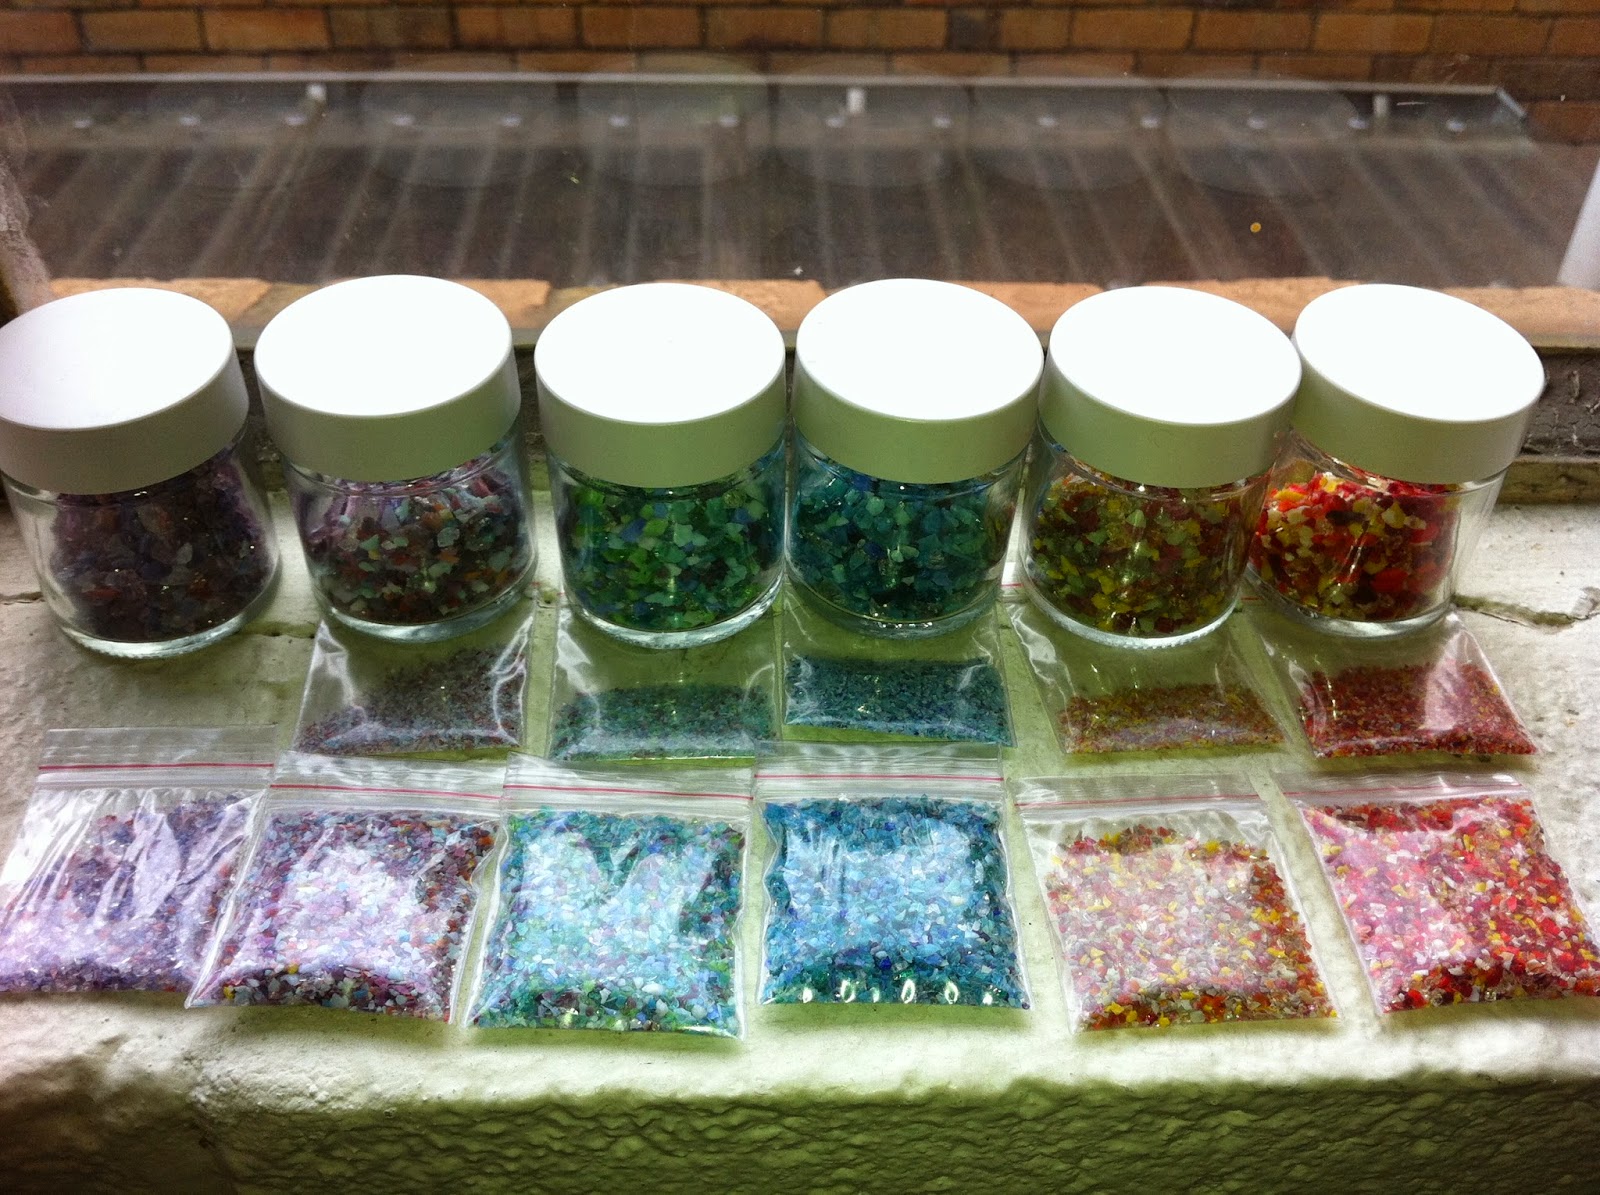
- Frit
A completely different approach is to use fine frit and
powder to give a patè de verre appearance by sintering the frit. This eliminates the bubble problem entirely.
You will need a lot of frit if you are trying to make a
sheet of 6mm from the frit. You could
just take the sheets of glass cut to the size of the mould and smash them up to
get the required amount of glass. Or you
can use your cullet, by weighing and smashing up enough glass.
The calculations for weight are best done in the metric
system (in cm) as there are easy conversions between volume and weight. Assume your mould is 20cm square. The area is 400cm2. The volume is that times 0.6cm or 240cm3. The specific gravity of glass is
approximately 2.5, so you multiply the volume by that and get 600gms of glass
required to get a 6mm thick sheet.
You could full fuse this into a clear sheet, although
this would take a much higher temperature and longer soak that would be good
for the mould. Better is to sinter the glass.
To sinter the glass, you need slow rises in temperature
and long soaks. A rise of about 75°C to
the softening point of the glass (around 600°C) followed by a very slow rise
(ca. 25°C per hour) to about 660°C is needed to allow the small grains of glass
to settle together. At the upper end of
the bubble squeeze you need a three- to four-hour soak to sinter the glass. The
thicker the layer of glass frit, the longer soak needed to ensure all the particles
are heated. The densest glass will be
formed by a 50/50 combination of powder and fine frit.
Much better is to have a much thinner sheet formed from
the frit. This will be about two to
three millimetres thick. The weight of
powder and or frit can be determined by the formula above, substituting 0.2 or 0.3
for the thickness. This frit mixture
needs to be evenly spread over the mould, with as much on the high points of
the mould as the low ones.
If the mould has a lot of variation in height, you can
sinter the frit mixture as a flat sheet first.
Then place it over the texture mould and give it a slow rate of advance
to the to the top end of the bubble squeeze and soak for an hour or more, as
required. This will ensure you get the
same thickness across the whole piece even though there differences in height.
The resulting piece will be very light and
translucent. It will have a fine
granular feel to the touch. It will have
the same shape on both sides of the piece, with the upper surface having a
slightly more shiny appearance than the bottom.