There are writings from a teacher attempting to make
glass fusing simple. Unfortunately,
glass physics and chemistry are very complicated. Attempting to avoid these complications leads
to failures and other difficulties as the practitioner progresses.
Proper annealing is one of the fundamentals to achieving sound
kilnforming results. Some suggestions
have been made by a widely followed person to “simplify” the understanding of
the annealing process. Discussion of the
meaning and importance of annealing can be found in many places, including
here.
Annealing temperatures
It has been suggested that the annealing temperatures can
be inferred from the CoE of the glass that is being used. Discussion of what
CoE is and is not can be found here and here.
Annealing temperatures are not directly
related to the expansion coefficient (CoE) of the glass. This can be shown from the published
annealing temperatures for different glasses organised by presumed CoE:
·
“CoE96”: Wisssmach 96 - anneal at 482°C; Oceanside - anneal at 515°C
·
“COE94”: Artista - anneal at 535°C
·
“CoE 93”: Kokomo - anneal between 507°C and
477°C – average 492°C
·
“CoE 90”: Bullseye - anneal at 482°C; Wissmach90
- anneal at 482°C; Uroboros FX90 - anneal at 525°C
·
“CoE 83”:
o Pilkington
(UK) float - anneal at 540°C;
o typical
USA float - anneal at 548°C;
o Typical
Australian float - anneal between 505°C and 525°C, average 515°C
This shows there is no direct relationship between CoE
and annealing temperature. Do not be
tempted to use a CoE number to indicate an annealing temperature. Go to the manufacturer’s web site to get the
correct information.
Temperature equalisation soak
Annealing for any glass can occur over a range of
temperatures. The annealing point is the
temperature at which the glass can most quickly be annealed. However, the glass cannot be annealed if it
is not all at the same temperature throughout the substance of the glass. It has been shown through research done at
the Bullseye Glass Company that a temperature difference of more than 5°C will
leave stress within the glass piece. To ensure good annealing, adequate time must
be given to the temperature equalisation process (annealing).
From the Bullseye research the following times are
required for an adequate anneal soak:
6mm / 1/4" 60
minutes
[9mm / 3/8" 90
minutes]
12mm / 1/2" 120
minutes
[15mm / 5/8" 150
minutes]
19mm / 3/4" 180
minutes
[ ] = interpolated from the Bullseye chart for annealing
thick slabs
Anneal Cooling
There are suggestions that a “second anneal” can be used
on important pieces. Other than
observing that all pieces are important to the maker, the suggestion should be
investigated. On looking into the idea,
it is essentially a second soak at 425°C, which is slightly below the strain
point, rather than controlled cool from the anneal soak temperature.
It is reported that the Corning Museum of Glass considers
450°C as the lower strain point – the temperature below which no further relief
of strain is possible. This means that
any secondary soak must occur above 450°C rather than the suggested 425°C. Such a soak is unnecessary if the appropriate cooling rates are used.
Cooling Rate
Except in special circumstances, the cooling rate needs
to be controlled as part of the annealing process. Soaking the glass at the anneal is not the
completion of the annealing. Most
practitioners follow the practice of choosing a slow rate of cooling
from the annealing soak to some point below the strain point rather than
a rapid one with a soak at the strain point temperature.
Annealing is not just the soak time (which is there to
equalise the temperature), it is about the rate of the annealing cool too. The
rate at which you cool is dependent on the thickness of the glass piece and whether
it is all of one thickness or of variable thicknesses.
Even thickness
Cooling
rate
Dimension time
(mins) to 427°C to 371°C
6mm 60 83°C 150°C
9mm 90 69°C 125°C
12mm 120 55°C 99°C
15mm 150 37°C 63°C
19mm 180 25°C 45°C
Cooling rate
Dimension time (mins) to 800°F to 700°F
0.25" 60 150°F 270°F
0.375" 90 124°F 225°F
0.5" 120 100°F 178°F
0.675" 150 67°F 114°F
0.75" 180 45°F 81°F
Tack fused/ uneven thickness
If your piece is tack fused, you need to treat the
annealing rate and soak as though it were twice the actual total thickness.
This gives the following times and rates:
Tack fused
Dimension (mm) Cooling rate
Actual Calculated time (mins) to 427°C to 371°C
6 12 120 55°C 99°C
9 18 150 25°C 45°C
12 25 180 15°C 27°C
15 30 300 9°C 18°C
18 38 360 6.7°C 12°C
Dimension (inches) Cooling
rate
Actual Calculated time (mins) to 800°F to 700°F
0.25 0.5 120 100°F 180°F
0.375 0.75 150 45°F 81°F
0.5 1.0 180 27°F 497°F
0.675 1.25 300 16°F 36°F
0.75 1.5 360 12°F 22°F
Contour fusing requires firing as though the piece is 1.5 times thicker. Sharp tack or laminating requires 2.5 times the the actual thickness.
Fusing on the floor of the kiln
There is a further possible complication if you are doing
your fusing on the kiln floor, or a shelf resting on the floor of the
kiln. In this case you need to use the
times and rates for glass that is at least 3mm thicker than the piece actually
is.
Thus, a flat 6mm piece on a shelf on the floor would use
the times and rates for 9mm: anneal soak for 90 minutes, anneal cool at 69°C to 427°C and then at 124°C to 371°C. It would be safest if you continued to
control the cooling to room temperature at no more than 400°C per hour.
But if it were a tack fused piece of a total of 6mm you
would use the times and rates for 18mm.
This is using the rates for twice the total thickness plus the additional
3mm for being on the base of the kiln. This gives the times and rates as being an
anneal soak of 360 minutes and cooling rates of 7°C to 427°C and 12°C to 370,
followed by 40°C per hour to room temperature.
Any quicker rates should be tested for residual stress before use.
Source for the annealing and cooling of fused glass
These times and rates are based on the table derived from
Bullseye research, which is published and available on the Bullseye site. It is applicable to all fusing glass with adjustments for
differing annealing soak temperatures.
Annealing over multiple firings
It has been recommended by a widely followed person that the annealing
soak should be extended each time subsequent to the first firing. I am uncertain about the reasoning behind
this suggestion. But the reasons for discounting it are related to adequate
annealing and what is done between firings.
If the annealing is adequate for the first firing, it
will be adequate for subsequent firings unless you have made significant
alterations to the piece. If you have
added another layer to a full fused piece, for example and are using a tack
fuse, you will need to anneal for longer, because the style and thickness have
been altered. Not because it is a second
firing. If you are slumping a fired
piece, the annealing does not need to be any different than the original
firing.
The only time the annealing needs to be altered is when
you have significantly changed the thickness of the piece, or the style of
fusing (mainly tacking additional items to the full fused piece). This is when you need to look at the
schedules you are planning to use to ensure your heat up is slow enough, that
your annealing soak is long enough, and the cool slow enough for the altered
conditions.
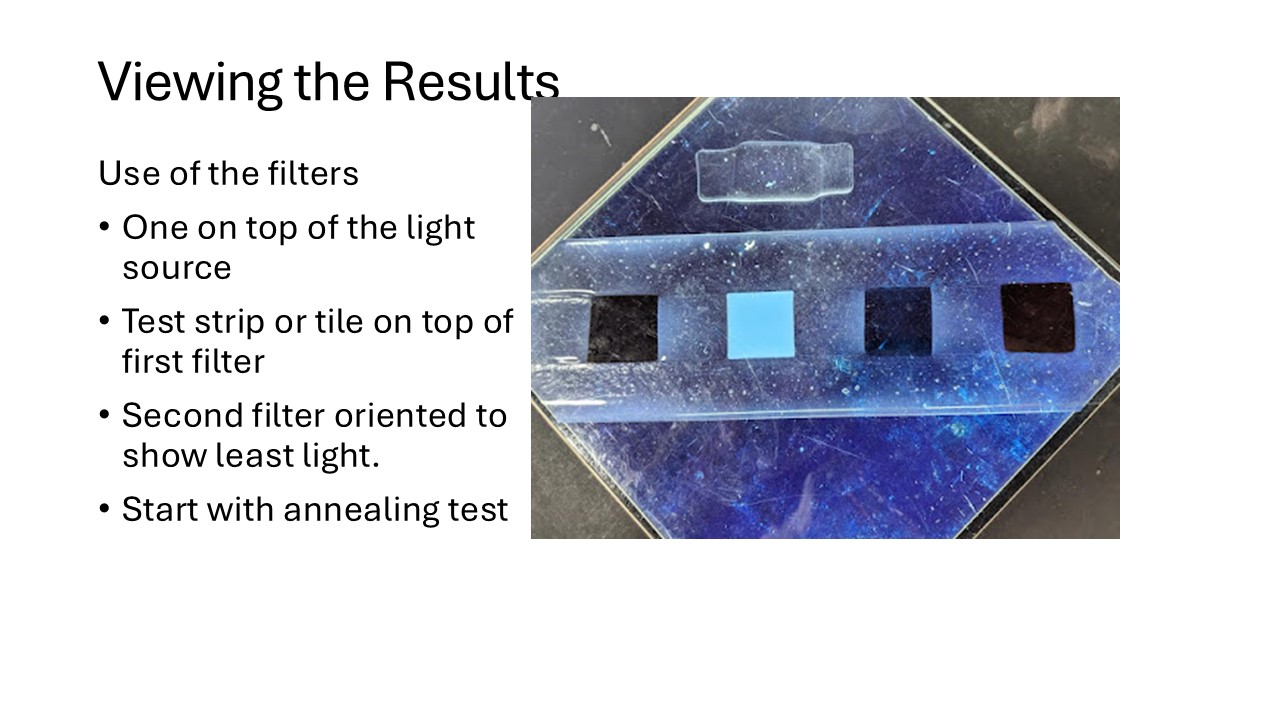
Determining the annealing point of unknown glass
You don’t have to guess at the annealing temperature for
an unknown glass. You can test for
it. It is known as the slump point test.
This test gives the softening point of the glass and from
that the annealing point can be calculated.
This test removes the guess work from choosing a temperature at which to
perform the anneal soak. The anneal temperature is important to the
result of the firing. This alone makes this test to give certainty about the annealing temperature worthwhile.
You can anneal soak at the calculated temperature, or at
30°C below it to reduce the anneal cool time.
This is because the annealing can occur over a range of
temperatures. The annealing occurs
slowly at the top and bottom of the range. But is at least risk of "fixing in" the stress of an
uneven distribution of temperature during the cool when the annealing
is done at the lower end of the range.
Do not be fooled into thinking that CoE determines
annealing temperatures. Use published
tables, especially the Bullseye table Annealing for Thick Slabs to determine
soak times and cooling rates. Use the
standard test for determining the softening and annealing points of unknown
glasses.
Revised 14.10.25