Wednesday 17 February 2021

Recovering from Devitrification


An explanation of what devitrification is, can be found in the link.

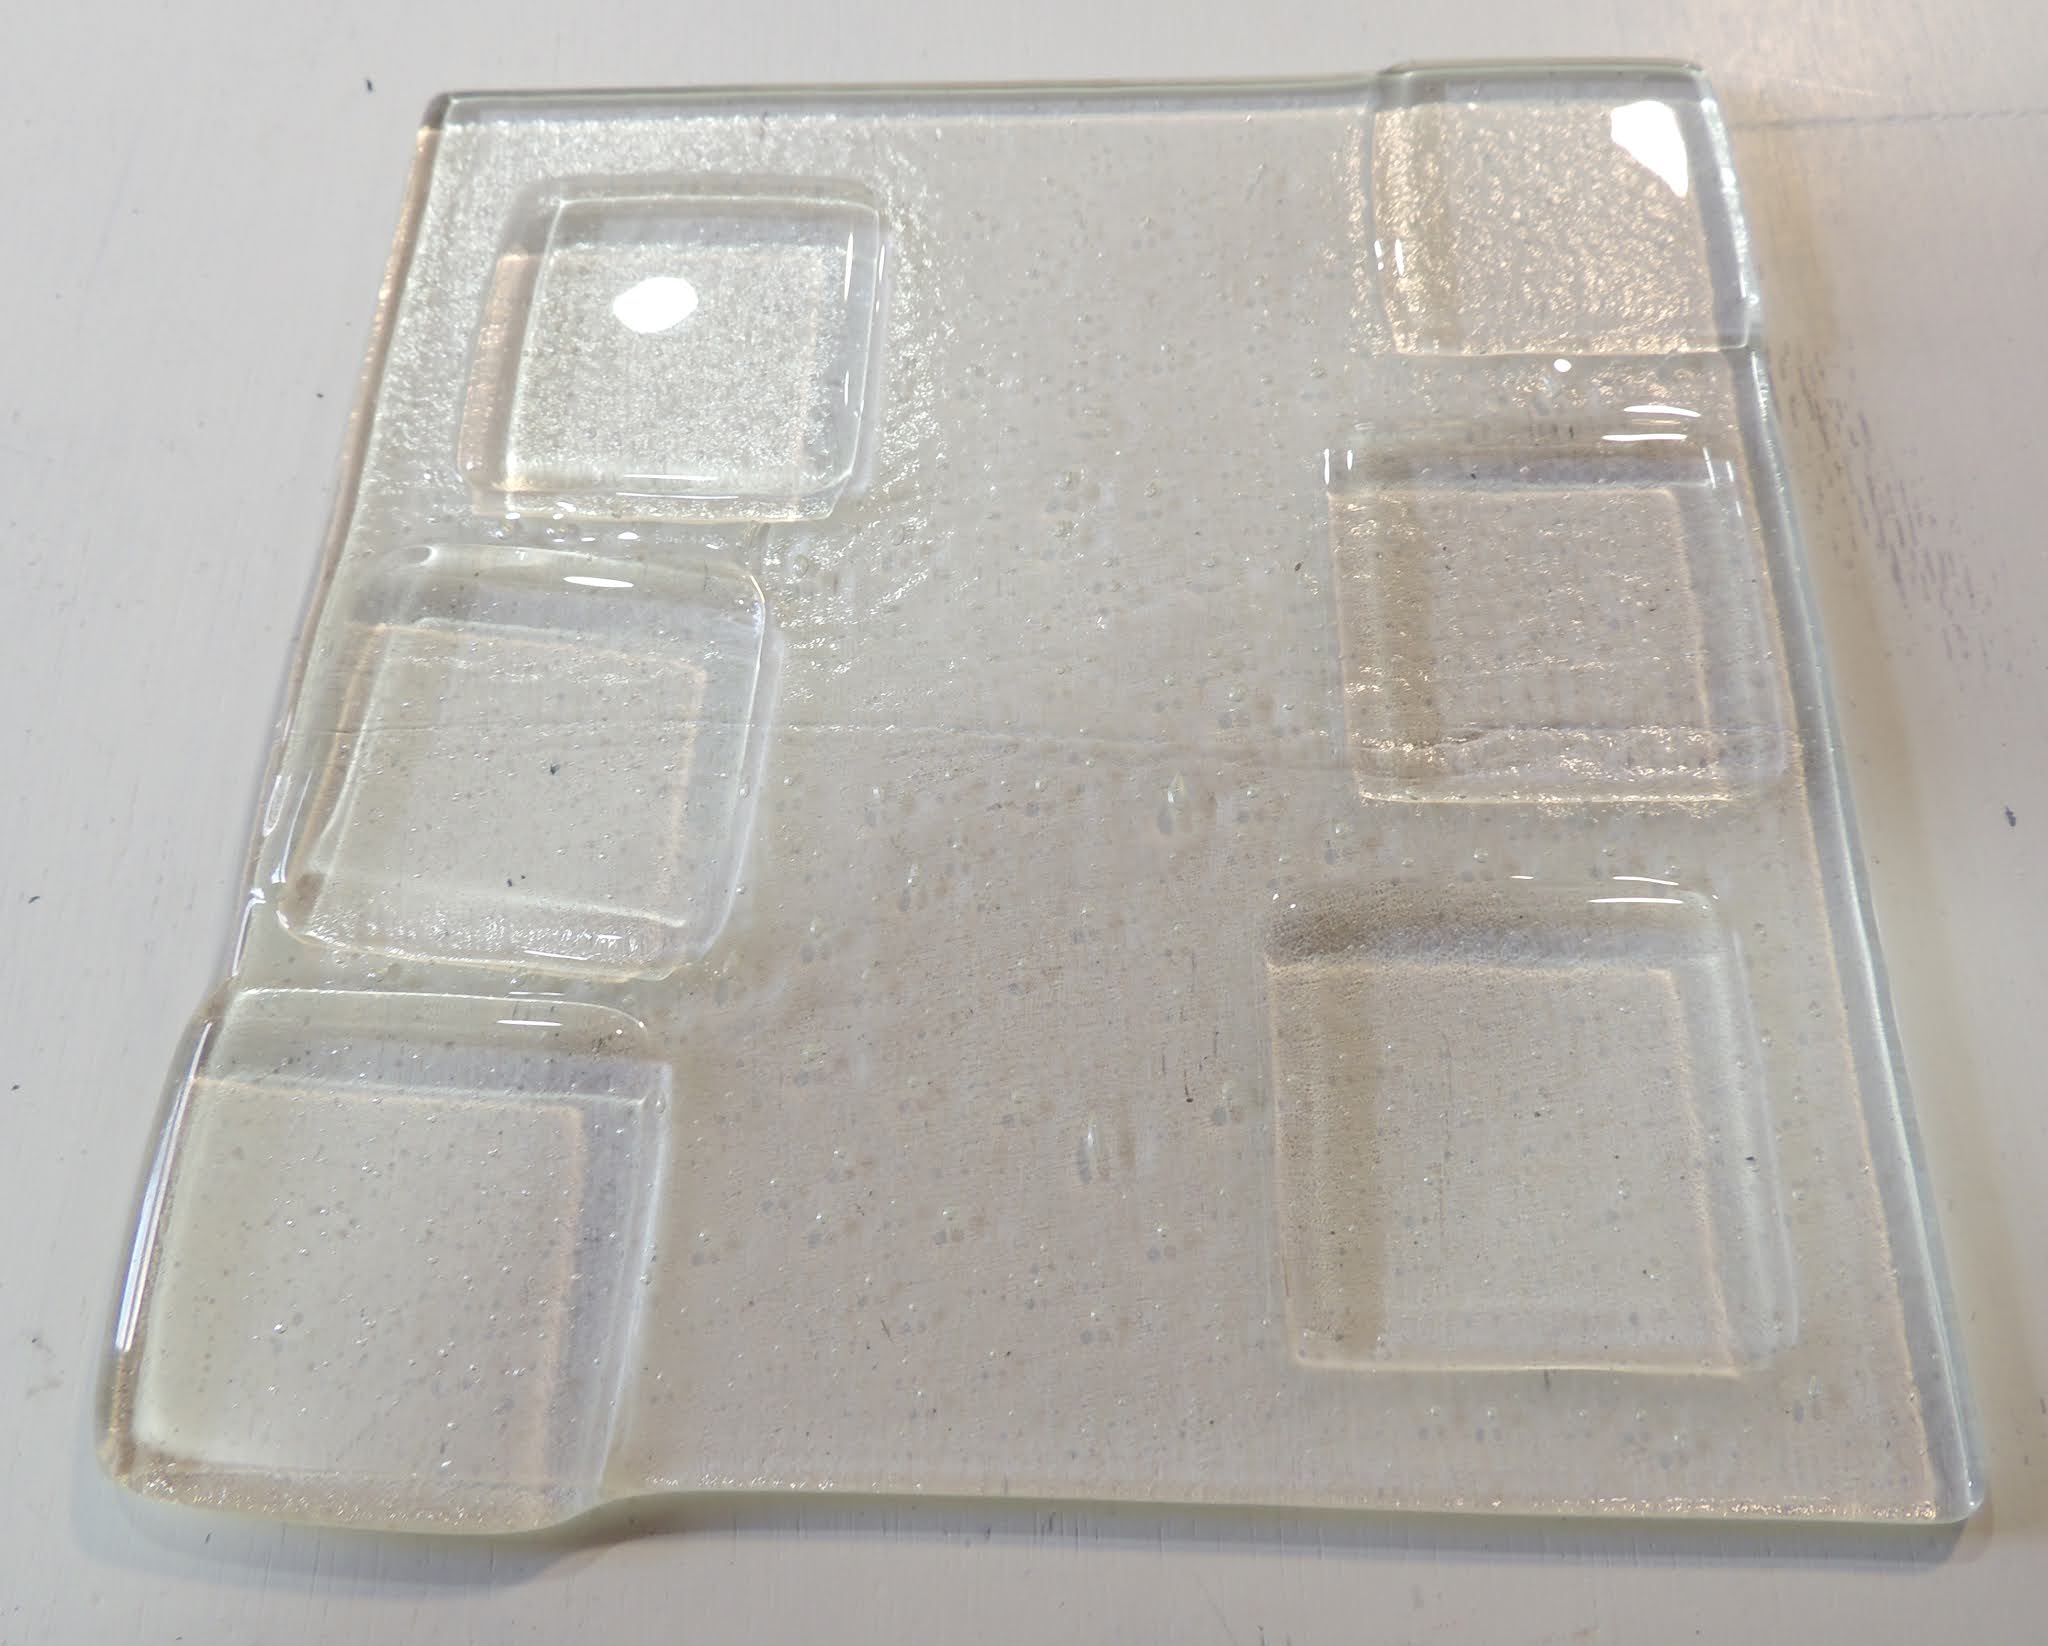
Mild devitrification is generally a smeary appearance on the surface.  Most often this can be corrected by either removing the surface, adding a flux or putting another surface over the piece.

mild devitrification
photo credit: Bullseye Glass Co.

Removing the devitrified surface

Sandblasting and grinding are two common methods of removing the surface. If you have access to a sandblaster, this is the easiest method of removing the surface.  You can remove the surface with manual methods too.  You can use wet and dry sandpapers, starting with coarse ones and proceed through grades to at least 400grit (0.037mm).  The flexibility of the sandpapers is that they can conform to uneven surfaces that tack fusing provides, to remove devitrification in depressions as well as the high bits. Diamond hand pads and sheets do the job more quickly, but are more expensive.

Acid etching is another surface removal method. There are various etching creams on the market which will remove the surface. You need to apply and leave for a long time to allow the acid to work on the glass surface.  It is best to keep the acid paste damp to enable the acid to work over a long period.  A piece of cling film will work well.

Making a new surface

You can provide a new surface by using devitrification sprays.  There are both commercial products and do it yourself ones that work.  The do it yourself product is a borax solution.  The method for making the solution is given here.

Borax powder

You also can give the devitrified surface a new one by covering it with clear powders.  Powders sifted evenly over the surface until there is a thin covering over all the piece will give a new surface concealing or covering the devitrification.  Fine frit does not work so well, as more needs to be sifted over the surface.  This will not be applicable to tack fused pieces, as the whole piece needs to be taken to a contour or full fuse to make sure the powder or frit is completely smooth.  This will make the tack fused areas flat.

Left to right - devitrified surface, powder covering, fired piece
Photo credit: Bullseye Glass Co.

When dealing with devitrification, the whole of the surface should be treated, not just isolated areas.  Treating isolated areas will most probably leave a difference in appearance between the treated and untreated areas.  It is not worth the risk of having to fire yet again.


Dealing with devitrification usually involves removing the devitrified surface or making a new one.

Wednesday 10 February 2021

Bubble Squeeze Temperature


“My bubble squeeze temperature is higher than my slumping temperature.“ The writer goes on to say that their bubble squeeze is at 1250°F/676°C vs. a slumping range of 1150°F/620°C - 1175°F/634°C.

I applaud the writer for doing the slumping at the lower range of slumping temperatures. This allows the glass to relax into the mould with fewer marks being picked up.  The temperatures might require significantly long soaks depending on the span, depth, shape, weight of glass, etc.   But it is a good practice to get work done at as low a temperature as practical.

 But...

There does seem to be a misunderstanding on how a bubble squeeze works. Like most things with glass, any process works over a range of temperatures.  Bullseye glass begins to soften about 540°C. This continues to about 680°C where the transformation range begins – that is, the glass is behaving more like a viscous liquid than a softening solid.  A bubble squeeze or a slump can begin anywhere in this 
540°C to 680° range.  At the lower end of the range, any slump will take “forever”.  At the top end, some slumps may occur too quickly and have mould and stretch marks on the bottom. 

Credit: Fusedglass.org


However…

This note is about the relation of bubble squeeze to slumping temperatures.  If you can slump an item at 620°C, you can also perform a bubble squeeze at that temperature.  Both processes rely on the glass becoming “soft” enough to relax into the shape below it.  It may be that you will need a very long soak to press out air in a bubble squeeze at 620°C, but it can be done if you are willing to wait a long time.  

Many people begin their bubble squeeze at 620°C for fusing glass with a soak.  I am not sure that a soak is required at this point, as slowing the rate of advance over the next 50°C will have the effect of increasing the heat work the glass receives without the need of a soak at the beginning of the bubble squeeze ramp – unless you have a rapid rate of advance toward the bubble squeeze.  

They then progress slowly (maybe 50°C or less, depending on thickness) for the next 55°C to 60°C and soak at that higher temperature for half an hour, or more for difficult shapes.  This additional heat work allows the glass to gradually become more plastic and deform more slowly than at a higher temperature bubble squeeze.  This is often called a cautious bubble squeeze, since it starts at a lower temperature and moves gradually to the top of the bubble squeeze range.  It removes the single shot bubble squeeze at a higher temperature, when air might already be trapped. 

In general terms, the slump can be carried out at or below the softening point of the glass.  This softening point is also the maximum temperature for a bubble squeeze. For example, float glass has a softening point of about 720°C, so a bubble squeeze and slumping can be in the 660°C to 720°C range.  Some glasses have even higher softening points, and others have much lower softening points than Bullseye or Oceanside.

Further information is available in the ebook: Low Temperature Kiln Forming.

Wednesday 3 February 2021

Consignment Terminology .


You need to communicate clearly, and in writing, with a consignment sales agreement to ensure the best chance of building a positive experience that works for you and the shop owner.  This means that you need to know the terminology used and required in consignment agreements.

Meet the taxation requirements
Make sure you have complied with the legal requirements in your jurisdiction for selling.  In the United States, for example, you need a tax identification number.  In the United Kingdom, you do not need anything other than your personal tax number, unless you are selling so much that you are employing other people.

Written contract
You need more than a verbal agreement.  Ask for their consignment agreement and take it away to consider the terms.  It is not pushy to do this; the shop owner would do the same. If the gallery/shop does not have a standard contract, you need to develop one and negotiate it with the owner.  The important elements are the commission rate, payment terms and frequency, insurance, breakages & theft, inventory arrangements.

Commission rate
A direct sale to the shop is normally marked up 100% of your price plus taxes to give the retail price.  So, the commission taken should be less that than that.  If the shop wants 50% commission, counter with direct sale at that level of commission.  It would be exceptional circumstances only that 50% commission would be acceptable to you.  30% - 40% is more usual.  The agreed rate should be written in the contract.

Payment terms
How frequently will you be paid for the work sold?  This needs to be included in the agreement.  Associated with this is inventory.

Inventory
You need to provide an item and price list for the gallery and one for yourself.  It should state the name of the parties at the head. It is essential to list the date delivered, the number and description of the items. Each line of work needs to have the item price to the gallery and the total price for each line. This list gives the sums you expect to receive upon their sale.  It is possible you will want to include, by agreement,  their commission and the retail price, although the gallery may change the retail price at any time.  If they want to reduce the price, that will come from their commission.  The price on the consignment form is not to be reduced, even though they ask for it. If they want to increase the price, they will keep the additional sums – in which case, of course, you should be thinking about increasing your price to them.

Exclusivity
What about choosing between galleries with different commission levels when you would like to be in both?  How do you choose?


Generally, shops and galleries expect to have an exclusive arrangement for their area.  This means that you can’t have your items in different outlets in a defined area.  What is that area?  If you are comfortable with the area restrictions, you then can approach the decision about commission levels.

Suppose you have different shops offering to take your work, but at different commission levels.  What do you do?

First, you do not reduce your price to the higher commission place.  You set a fair price for your work in the items.  That is a price at which you can make a profit.  That is what you deserve.  So, you place the items in either place at your single, set price. That may make your product more expensive in one shop than another.  That is not your problem. That is the owner’s decision.  You can see everywhere that there are different prices for the same product.  Usually, there is a perceived difference in quality, service, prestige, etc., between the places.

Reporting
The reciprocal of this is the listing by the shop of items sold and resulting sums due.  The frequency of this reporting needs to be in the agreement. 

Loss, theft, breakage
The fact that the work on consignment remains your property until sold needs to be in the written contract.  This may affect who insures your work in case of breakage or theft.  The division of responsibility needs to be written in the agreement.

Management of stock
The shop should have a system to keep track of sales and stock. Ask about it.

Stocking
Agree restocking arrangements to be responsive to sales. An agreement on removing items due to lack of sales, or your requirement to have the item in your possession is needed.

Promotion
You hope and expect the retailer to promote your works, but you must also promote the retailer in your social media and your direct selling venues.  Participating in events related to your work is one of the ways to assist in promotion too.  Some element of this needs to be included in the contract.


Selection of a gallery or shop in which to place your work is a complex interaction of commission levels; the value you place on your time in preparing for and attending craft fairs or putting your work online; the perceived prestige of the shop/gallery; the potential relationship between you and the outlet; and the relationship of the consignment, wholesale and retail prices.

Other posts on consignment:

Wednesday 27 January 2021

Glue boiling


People often find that their glued pieces shift in the firing.  Sometimes dramatically. This can be from placement or boiling of the glue.

Almost all commonly available glues evaporate well below the “sticky” range of glass. 

The boiling points of some of the popular glues:
PVA (also known as: wood glue, white glue, carpenter's glue, school glue, Elmer's glue in the US, or PVA glue)  
Boiling point: 112°C (234°F)
Super glue (and other cyanoacrylate glues) 
boiling point 54-56°C (129-133°F)
Lacquer (hair spray)
Boiling point: 185 to 189°C (365 to 372°F)
CMC  (carboxymethyl cellulose includes wallpaper paste, vitragel and most fusing glues)
boiling point: 260–270°C (500–518°F)  
melts at 274°C 
Aloe vera gel  
ignition point: ca. 232°C therefore, its boiling point is lower.

This shows the popular glues used in kilnforming are not effective above 300°C and many with much lower boiling points.  This means that glues only hold glass in place when cold. Glues may be useful in getting items with many pieces into the kiln, but they will not hold them in place until the glass becomes sticky.  The glass, in general, needs to be at or above the slumping temperature to begin to stick together.


If glue doesn’t work, what can I do?

Other means than glues are required to support the moveable items until the glass become sticky at around 620°C (about 700°C for float glass).

If placing frit supports is not possible without showing, such as in a tack fuse, you can use mechanical means. Two of these are grinding flat spots on rolling pieces; and placing supports under the balanced items. Other support and damming methods will depend on the nature of the project.  In general, if the pieces will not stay in place without glue before placing in the kiln, the pieces will move in the kiln after the glue evaporates.

This evaporation can be so fast as to be called boiling.  Glue boils off in the kiln whether dry before firing or not. Sometimes there is enough glue or rapid enough heating to cause displacement of the glass by the force of the boiling. Just as in boiling water, the evaporation can be explosive.  The force of the built-up pressure of glue trapped under glass can move small pieces relatively large distances.

How do I avoid boiling the glue?
  • Use as little glue as possible.
  • Use it at the edges of the pieces.
  • Do not place it in the middle of large pieces.
  • When you do use glue, advance slowly to at least 300°C allow the glue to evaporate, rather than boil.  I’d suggest a rate of 50°C per hour would be slow enough to avoid the boiling of sparingly applied glue.

Best of all, use no glue.


Quickly fired glue - wet or dry - boils.  Sometimes with enough force to move the glass significant distances.  Avoid gluing as much as possible and use sparingly when needed.

Wednesday 20 January 2021

Consignment – meeting the owner/buyer


When approaching the retailer keep several things in mind:

Prepare for the meeting
  • Make an appointment, as the retailers’ focus is on selling. Buying is done in down time from the sales.
  • Explain how you came to select the shop – this can include recommendations from people already represented by the store.
  • Provide a brief description of the kind of work you do.  If you sell at other locations – craft shows, online, etc. – include that and be prepared to say how well they sell.
  • Be prepared to talk about the inspirations behind your work.
  • Prepare yourself with the points you want to make about your work and its relation to the shop’s offerings.
  • Remember that you are providing retailers with unique items that fit with their customers interests and needs.
  • Be prepared with suggested retail price ranges for each line, remembering the commission the shop takes.
  • During the meeting, the retailer will be assessing both your work and the potential working relationship.
  • Be prepared for the retailer to ask for time to consider whether to stock your work.

Bring a range of materials to support your presentation.
  • Take a small but representative sample set of your work in its packaging.
  • Back up the samples with good photographs, which are essential, especially if the pieces are too large for practical transport.
  • Bring business cards, a resume relevant to the shop, marketing materials, photographs, and samples you are prepared to leave with the shop if asked.

Presentation
  • Dress to make a good impression. You are presenting yourself as well as your work.  You don’t need to be super smart.  Dress neatly in a way that suits your personality.
  •  Present your work at its best along with its packaging.

Follow up

Follow up is essential. A week or so after the meeting contact the premises with further information or even questions.  If the response is to decline to carry your work, ask for feedback about your work and its relation to the shop’s offerings. This will assist your future presentations.


Selection of a gallery or shop in which to place your work is a complex interaction of commission levels; the value you place on your time in preparing for and attending craft fairs or putting your work online; the perceived prestige of the shop/gallery; the potential relationship between you and the outlet; and the relationship of the consignment, wholesale and retail prices.


Wednesday 13 January 2021

Annealing Bullseye and Oceanside Together

Credit: Bullseye FAQ_kilnforming_annealing


The question sometimes arises as to whether Bullseye and Oceanside can be annealed in the same firing, since the two glasses cannot be combined in the same piece.  They also have different published annealing soak temperatures (also known as the annealing point).  The explanation requires some knowledge of annealing.

Annealing can be done at other than the annealing point. This is because annealing can be done over a range rather than being a single magic figure. Bullseye did not change their glass when they altered the recommended anneal temperature.  This means that the annealing point is still at 516°C. Their research has shown that good annealing results are obtained by doing the temperature equalisation soak at the lower end of the range.  Temperature equalisation throughout the piece is what happens during the annealing soak. Therefore, it is a descriptive term for what happens at the annealing temperature.

Bullseye's previous annealing temperature was 516°C and Spectrum's was/is 510°C. These are very close, and in the past, many chose to anneal at either - or in most cases, both - of these temperatures. Bullseye's research has shown doing the temperature equalisation at the lower end of the annealing range provides good results and ones that are more reliable than the higher temperature.  This research is applicable to all soda lime glasses, not just Bullseye. Therefore, the same principles can be applied to Oceanside fusing compatible glass, or any other fusing compatible glass. This further indicates that you can anneal both Bullseye and Oceanside fusing compatible glasses at the same temperature. 

Further support to this view of the possibility of annealing the two glasses at the same time and temperature is given by Wissmach.  Wissmach W90 and W96 now are both given the annealing temperature soak as 482°C.  Previously they both had been at 510°C.

If you feel the need to compensate for the annealing point differences, you can increase the 482°C for Bullseye by 6°C to 488°C for both. Although I don't think it is necessary, 488°C will be fine for Bullseye and safe for Oceanside.


Wednesday 6 January 2021

Consignment Venues

Credit: getlstd-property-photo

Finding suitable shops and outlets

Shops and galleries want stock that meet or exceed their customer expectations of quality, style, function and price.  In other words, they are looking for work that will fit with the other products already on show.  These shops generally will be those that already sell hand crafted work. You need to show how your work fits with or adds to the retail premises.  As you are selling handmade items, you also will be looking for shops with higher price levels to be able to sell to the shop at a reasonable profit.

You need to do your research.
What do you know about the gallery/shop?
  •  What is its perceived standing?  Is it a “go to” shop? Does it get discussed in media? Is it talked about in craft circles? What does its online presence look like?
  • Location.  Where is it? Is it in a prestigious area? Is it unobtrusive?
  • Will there be, or is there already, a good footfall?  Who are its customers? Who does the shop target as their clientele?
  • What is the fit between the shop and your pieces? Will your pieces fit in with the existing items? Will they stand out well, or seem odd?
  • Will the shop advise on the prices they expect to get?  Can the shop get you higher prices?
  • Does the shop have promotional events that you could participate in?

Visit the store/shop as though a customer first to assess the venue.  If the shop is too far away to visit in person, look online to get a sense of the business.  This will show how the shop fits with your products – style, kind, price levels.  Also take note of the presentation of the store internally and externally.

Even after visiting in person, an internet search will be useful, especially to find out about their submission policies and forms. Look at what internet profile they have. And do they have good online reviews? Also enquire around from people you know about the venue, and contact any local crafts organisation for more information.


Local vs regional/national

Should you be looking at local shops or be more ambitious and look at a wider area.  If you are willing to travel some distances for craft fairs, pop-up shops, etc., you may find expanding your search area to regional and multiple outlets a worthwhile activity.  You could take an extra day to investigate shops in the area or meet with the owners.

Some considerations in favour of starting local:
  • Low cost shipping. If your work is large or difficult to post, you can hand deliver.
  • Local helps to start small and get experience for larger volumes, more stores.
  • Local builds an audience for your work near your studio.
  • Getting featured in local press is easier that regional national.
  • Local allows for a more intimate relationship to be developed.
  • Starting local allows you to learn how to build up the volume of your work.

Assessment

Arranging a visit to the short list of shops is the next step.  After those meetings there is a further assessment of the venue to be done.  These are the same questions you looked at in your preliminary research about each shop:
  • What is its perceived standing?  How do they perceive themselves?
  • What is their media presence?  What is the customer perception?
  • Location in shopping terms.
  • What is the customer base and how does your work fit with that group of prospective purchasers?
  • How will your works fit with the shop and its presentation?
  • What advice is available on the prices they can get for your items?
  • What promotional activities are presented?
  • What are the consignment commission rates?
Since these are the questions you will be basing your decisions upon, they are the ones you should be asking during the appointment, if not already discovered from your prior investigations.  Assess how you feel about the responses you received after the conclusion of the meeting.  Do not make on the spot decisions.

Selection of a gallery or shop in which to place your work is a complex interaction of commission levels; the value you place on your time in preparing for and attending craft fairs or putting your work online; the perceived prestige of the shop/gallery; the potential relationship between you and the outlet; and the relationship of the consignment, wholesale and retail prices.


Tuesday 5 January 2021

Expansion at Edges of Tack Fused Stacks

How much will my glass expand if I put glass pieces on top of 6mm base?  

I ran some tests for both 6mm and 3mm bases. These showed that the distance from the edge is important.  The amount of glass in the stack has a big influence on expansion.  So does the tack profile and the thickness of the base.

The most expansion for any thickness and at any tack profile is when the stack is placed at the edge.  The further away from the edge, the less the expansion. There is no noticeable expansion of size when the tack stacks are placed 20mm from the edge.  In most cases there is only a little expansion at 10mm from the edge.  Although not tested, it seems that 15mm is a safe distance from the edge to avoid changing the edge.

The amount of glass in the stack being tacked to the base has an effect on the amount of expansion.  This is to be expected based on the concepts behind volume control.  Two tack layers can vary from two to three times that for a single tack layer depending on the profile of the tack.

The tack profile has an effect on the amount of expansion.  At contour there is a greater expansion than at rounded or sharp tack fuse.  This is to be expected, as there is less heat work at sharper tack profiles than at contour.

The thickness of the base has an influence on the amount of expansion too.  Thicker stacks promote greater deformation of the edge at all tack levels.  Thicker stacks need to be placed further from the edge to avoid changing the perimeter.  Thicker stacks create greater change in the edge on single layers than double layers.


The setup and results are given here.


Setup for 2 layer base and 1 and 2 layer stacks at various distances from the edge.


Contour fuse test, 6mm base
1 layer placed at edge, at 10mm from edge, at 20mm from edge, and at 30mm from edge.  2 layer stacks placed in the same way.  
 
Fired results, outlined for clarity

1 layer placed at edge – expansion of 2.5mm
1 layer placed 10mm from edge – expansion of 0mm
1 layer placed 20mm from edge – expansion of 0mm
1 layer placed 30mm from edge – expansion of 0mm

2 layers place at edge – expansion of 9mm
2 layers placed 10mm from edge – expansion of 2mm
2 layers placed 20mm from edge – expansion of 0mm
2 layers placed 30mm from edge – expansion of 0mm
 

Rounded tack test, 6mm base
1 layer placed at edge, at 10mm from edge, and at 20mm from edge.
2 layer stacks placed in the same way.
 
1 layer placed at edge – expansion of 3mm
1 layer 10mm from edge – expansion of 0mm
1 layer 20mm from edge – expansion of 0mm

2 layers place at edge – expansion of 7mm
2 layers placed 10mm from edge – expansion of 1mm
2 layers placed 20mm from edge – expansion of 0mm
 
Fired result of 6mm base with 1 and 2 tack layers, rounded tack.


Rounded tack test, 3mm base
1 layer placed at edge, 1 at 10mm from edge, 1 at 20mm from edge, 1 at 30mm from edge.  2 layer stacks placed as above.  
 
1 layer placed at edge – expansion of 2.5mm
1 layer 10mm from edge – expansion of 1mm
1 layer 20mm from edge – expansion of 0mm
1 layer 30mm from edge – expansion of 0mm
 
2 layers placed at edge – expansion of 3mm
2 layers 10mm from edge – expansion of 1mm
2 layers 20mm from edge – expansion of 0mm
2 layers 30mm from edge – expansion of 0mm
 
Fired result of 3mm base with 1 and 2 tack layers.

Note: the single 200mm sheet contracted to 195mm in uncovered areas.  Measurements were based on the amount of expansion from the fired dimensions. Even with the greatest expansion the piece was still 2.5mm smaller after firing than at the start.
 

Sharp tack test, 6mm base
1 layer placed at edge, 1 at 10mm from edge, 1 at 20mm from edge, 1 at 30mm from edge.  2 layer stacks placed as above.  
 
1 layer placed at edge – expansion of 1mm
1 layer 10mm from edge – expansion of 0mm
1 layer 20mm from edge – expansion of 0mm
1 layer 30mm from edge – expansion of 0mm
 
2 layers placed at edge – expansion of 2mm
2 layers 10mm from edge – expansion of 0mm
2 layers 20mm from edge – expansion of 0mm
2 layers 30mm from edge – expansion of 0mm


More detailed information is available in the e-book: Low Temperature Kilnforming.

Wednesday 30 December 2020

Float annealing


As a result of various memory failures, I've done a bit of searching on the annealing of float glass.  There are now various compositions of float glass and with different coatings for various applications.

This leads to a variety of annealing points for Pilkington float glasses. The search led to various hard to find documents, which indicate a range of annealing temperatures between 548°C and 559°C. This is not a huge range, so anywhere between 548°C and 560°C can be taken as the annealing point. Pilkington indicate that optifloat has an annealing point of 548°C

The strain point seems to be mostly between 525°C and 530°C for all the varieties.  This indicates the temperature equalisation soak should not be less than 535°C.

The conclusion seems to be that annealing should have a temperature equalisation soak between 550°C and 535°C. It will not matter much where you choose, but remember that the closer to the strain point you do the temperature equalisation, the longer the soak should be.  The length of soak at 535°C can be determined by use of the Bullseye chart for Annealing Thick Slabs. This gives the times and rates for the anneal cooling of glass by thickness.  The temperatures need to be changed, but otherwise the information can be applied.

The softening point seems to be 725°C for all the glasses. This is a good low temperature for slumping.


Wednesday 23 December 2020

Consignment

Why sell on consignment?


Biscuit Factory, Newcastle


Benefits
Consignment arrangements can add income additional to your other strategies of online, direct sales, craft fairs, pop-up shops, etc. 

It can develop new customers, and develop growth in both commercial and artistic terms. 

It exposes your work to new and different customers.

It can provide opportunities to partner with another small business (the shop) and benefit from mutual promotion.  

Craft fairs are not a long term means to sell your work.  Fairs are concentrated at certain times of the year.  You cannot attend all of them anyway.

Consignment spreads the income over the seasons.

Down sides
Your stock is tied up in the shop.
Your craft fair and online prices need to be similar to the retail prices at the shop(s) to which you consign work.


Further Action
Consignment can be beneficial to your sales, but it does require preparation and effort. 

You need to investigate shops and prepare for a meeting with the owners. You need to have a written contract even with friends and it should include all the elements and assumptions for the arrangements.

If you decide to pursue consignment arrangements, there are several things you need to consider and prepare.
  • Finding suitable shops and stores and assessing them.
  • Preparation for meeting the owner.
  • Knowing your terms
  • Placing and promotion of your work.
  • Maintaining the relationship.
  • Wholesaling


These aspects of consignment are the subject of postings to come.


Selection of a gallery or shop in which to place your work is a complex interaction of commission levels; the value you place on your time in preparing for and attending craft fairs or putting your work online; the perceived prestige of the shop/gallery; the potential relationship between you and the outlet; and the relationship of the consignment, wholesale and retail prices.


Other posts on consignment:

Wednesday 16 December 2020

Mould repairs with ciment fondue


Ciment Fondue
Ciment fondue was a French discovery and so the French name has become common in Europe. The name ciment fondu is used for the formal name Calcium aluminate cement which is also called high alumina cement and aluminous cement.  It is composed mainly of Aluminium oxide (alumina) and calcium oxide (quicklime) with varying amounts of ferric oxide. The Aluminium Oxide varies from 40% to 80% for various applications. The calcium oxide content varies from 40% to 20% and the ferric oxide varies from 16% to none for refractory applications.  For kilnformers, the general purpose composition of 40% aluminium oxide, 40% calcium oxide and 16% ferric oxide is sufficient (the rest is made up of minor amounts of incidental minerals and metals).

It is costly in relation to Portland cement and is used mainly where quick curing strength is required and at low temperatures; in refractory concretes where strength at high temperatures is needed; and in sewer piping and other applications to provide protection against biological attack of the concrete.

It is also used in sculptural applications, both as the casting material, and as a strengthening element in a non-metallic structure.

It is mixed with water to form a paste.  The proportions are not required to be exact, as the ciment fondu separates out of the water due to its weight and very low water absorption.  Slightly different methods are needed to repair breaks, and to fill divots in the surface.

Breaks
To repair breaks or cracks in ceramic moulds the ciment fondu needs to be used on its own.  Mix the dry particles with water until a stiff slurry is formed.  Thoroughly wet the edges of the broken pieces or the cracked area.  Then apply the ciment fondu slurry to both edges.  Press the pieces together and bind them if they would otherwise separate.  This can be with elastic bands or tape or any material that will withstand moisture.

The internal surface must have all the ciment fondue cleaned from it.  It cures so hard that it is not practical to sand it smooth without damaging the ceramic surface.  This clean up can be with a lot of water and paper towels. Any tools you use need to be immediately cleaned with water.  Do not dispose of this clean up water down your drains. It will harden and narrow your drains, potentially blocking them so firmly that whole sections of the drain will need to be replaced.

When fixed together put the mould in plastic or other waterproof material for at least 24 hours to give a wet cure.  The ciment fondu is not completely cured until it is given a heat cure.  This should be above the expected operating temperature.  Although I have never fired any of my ceramic moulds above 680°C, I fire my repairs to 800°C.  The firing is smelly, so ventilate the kiln and room well.  Try to do the heat curing when the smell will not disturb you or your neighbours.


Divots
This mould had glass stuck to it and was damaged in removing the glass.

If there are scratches or divots in the mould surface, you need to add some material that will absorb water into the ciment fondue mix.  Cured ciment fondue rejects water and so does not get as well coated as the rest of the mould when kiln wash is applied.  


To prevent this rejection of water, I add finely ground vermiculite to the mix.  I use 3 parts or less vermiculite to 1 part ciment fondue (measured by volume).  This provides a firm surface that absorbs some water. Although the absorption of moisture is not as good as the ceramic, it is sufficient to get the kiln wash coverage required.


Once the mix is prepared, you need to thoroughly wet the area to be fixed. This prevents the ceramic absorbing the water from the ciment fondue too quickly. Apply the ciment fondue mix with whatever tools seem appropriate.  


You must smooth the applied mixture before it dries, as it is so hard when cured that it is not possible to sand it smooth without damaging the ceramic surrounding the repair.  Smoothing can be done with significant amounts of water and a smoothing tool such as a ceramicist’s kidney or a palette knife. 


Once smoothed to achieve the surface required, pour off the excess water.  Enclose the mould in a plastic bag for 24 hours for a wet cure. Once out of the bag and dry you can further smooth with very fine sandpaper.

Then fire to 700°C to 800°C to complete the cure.  When cool it is ready to kiln wash.  If you warm the mould to around 100°C, the kiln wash will adhere to the repaired areas a little better than the cold mould.  Once the first kiln washing of the mould is complete, further applications of kiln wash will be easier. Of course, if you use boron nitride to coat the mould, there will be no difficulty with the repaired areas.

All tools need to be cleaned immediately of the ciment fondue and the cleaning water disposed of on the garden or waste ground.  It should never be put down domestic or public drains.  It does no harm to the soil or plants, but it will certainly harm your plumbing.