Wednesday, 26 August 2015

Making Frit

There are many ways of making frit. I have used a variety of instruments to make frit.  I am sure there are many more ways, but these are the ones with which I have experience.

The frit maker can be any of a number of things.


The mortar and pestle is a very good implement for small quantities of frit.  It produces a variety of sizes with little contamination, especially if you use a ceramic set.  You use a grinding motion mainly with occasional thumps.  Cover the open mortar with a cloth to keep the bouncing glass pieces from escaping.


A coffee grinder whether hand cranked or electric is easier.  But it tends to produce one size of frit in small quantities unless you control the grinding to short pulses and frequent sieving.  The other drawback is that the blades of the electric grinders tend to be stainless steel which cannot be removed by magnets. Really thorough cleaning of frit is required.


I have used an adapted kitchen sink waste disposal unit. It produces frit of two sizes – powder and whatever the grid opening is.  The results contain quite a bit of metal and need to be cleaned very well.   The advantage is that it can produce large quantities of frit quickly.


The closed end pipe and plunger is much more work but can produce quantities of varied sizes of frit. It is better to use mild steel rather than stainless steel, as much of stainless is not magnetic, and so the metal fragments cannot be removed in the simplest way.

Shock treatment.  This uses thermal shock of the glass to assist in the frit making process.  It is described elsewhere.


Grading and Cleaning

Sieve all the fines and powder out of the frit and discard.  The metal fragments mixed in these fines can be removed by multiple passes of a strong magnet.  


See here for a method of keeping the magnet clean. However, there are often a number of contaminants that cannot be removed with a magnet.  Washing powdered glass, is a good way to block drains. So the best and safest thing to do is to remove these fines from your frit. A kitchen sieve works well to this.  You can dig this into your garden, as it makes a good soil conditioner, or bag it and put it into the municipal waste.


Grade the remaining frit with a garden riddle or other graduated set of screens.  At this point you may wish to wash your frit to remove any powders from the glass.  Do this in a basin to avoid eventually blocking your drains.  The resulting water can be poured on the garden, or indoor plants.  Alternatively, decant the water from the heavy glass powder and put the damp powder into a sealed bag to protect the refuse workers if you dispose of it in public waste.

You can dry the frit by leaving it in the open air and stirring it occasionally.  You may wish to place some newspaper over the open tray of frit to keep it free of contaminants.  This still has the risk of dust settling onto the frit as this method takes days to dry.  The quicker alternative is to put the glass in flat open metal containers such as baking trays on top of the kiln.  A bit of aluminium foil placed on top of the tray will reduce the dust that can get onto the frit.
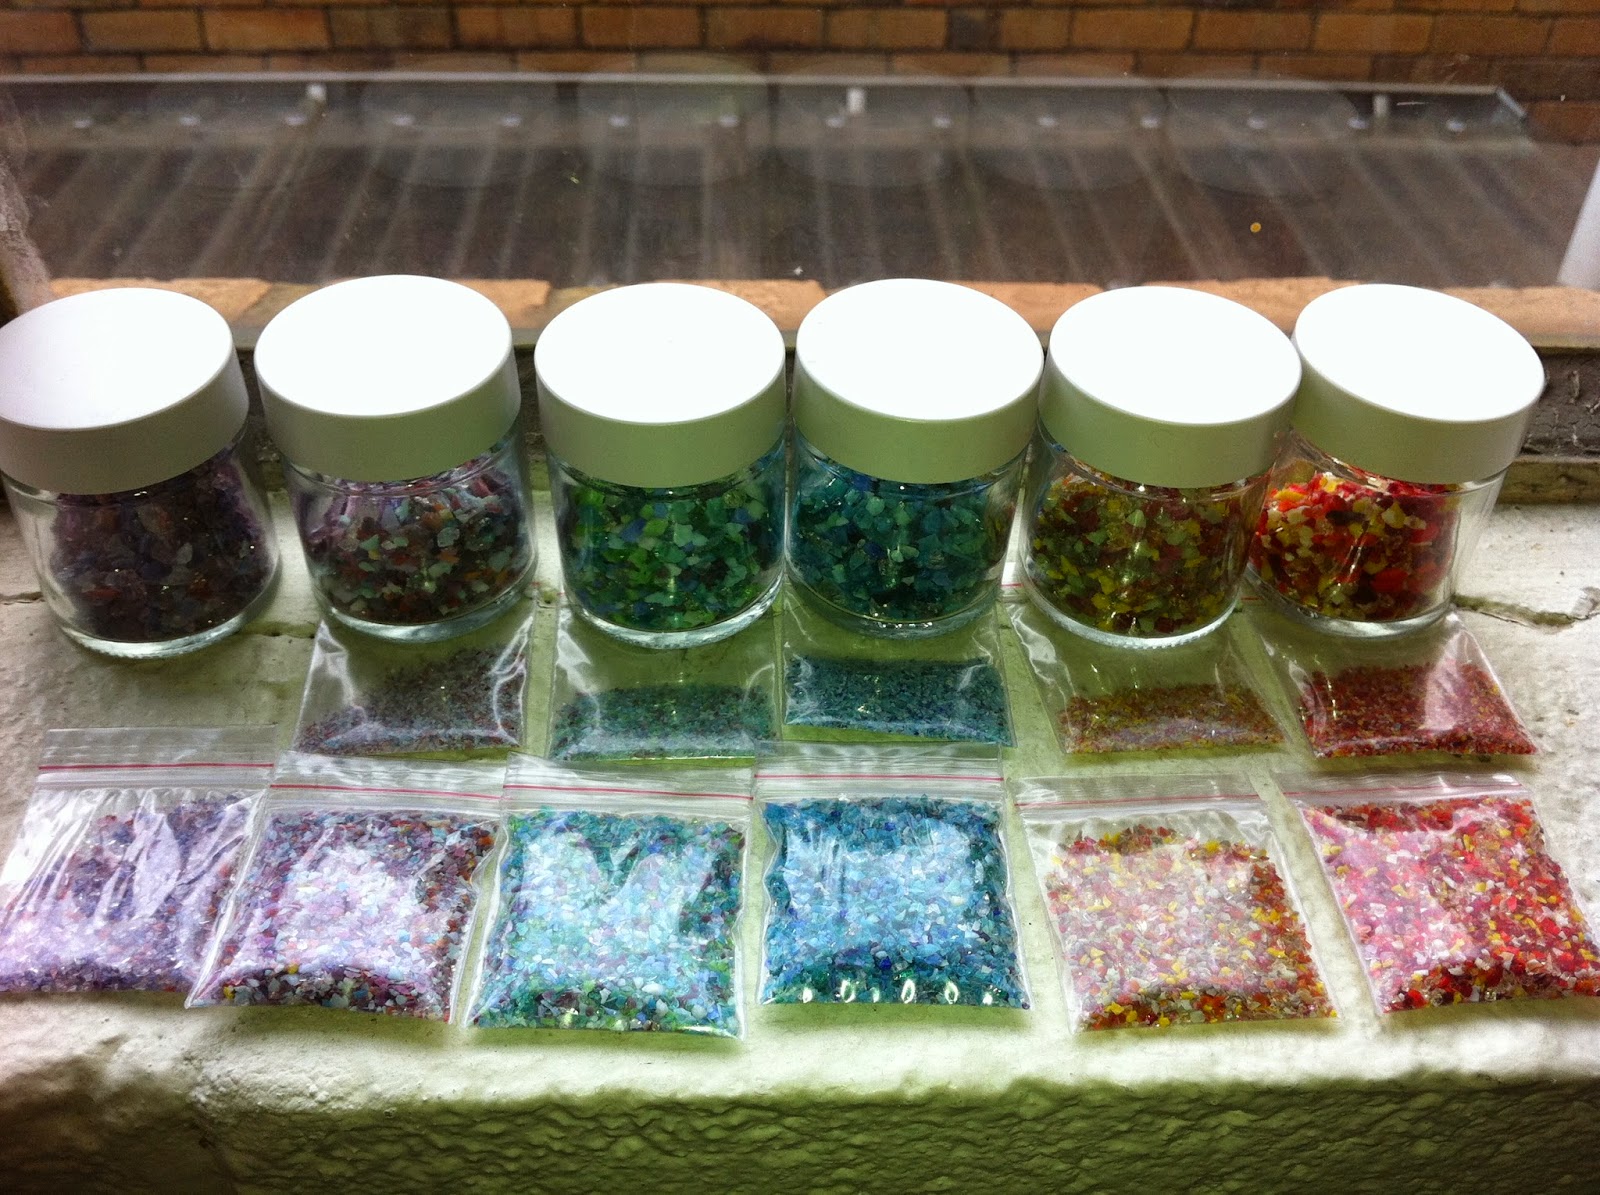
Put resulting dried and graded frit in labelled containers for future use.


Wednesday, 19 August 2015

Alternative to Glue

Frit

Yes, clear fine frit can be a risk free alternative to glue.  Glue is to keep things in place while moving to the kiln.  Fine to medium grit can do that too.

Glass is pretty heavy and if you move the piece carefully the frit will not move and its weight will keep the other glass pieces in position.  It is better, of course, if you can build in the kiln.  Then you add the frit at the last moment to keep everything in place during the firing.  At rounded tack fuse the clear glass frit will become part of the surface. 

This method will not work for everything.  If you are using laminating or only softened edges for your tack fusing, the glass frit will remain granular.  If you have to tip or manipulate your shelf into your kiln, this will not work either.

This note indicates the use of frit to stablise stringers and rods.


Using frit to stabilise your pieces is yet another way of reducing the amount of glue usage in your work and so reduce the risk of bubbles and marks, even though the practice is not always applicable.

Wednesday, 12 August 2015

Glass Snagging on Grinder Surface

A number of people report difficulties in sliding the glass along the surface grid.  The glass catches on the grid squares and so does not move easily and smoothly when grinding.
 
homepages.nildram.co.uk


Some suggest sanding the grid to remove any rough places.  The difficulty with sanding the grid is that it will mean that you have to replace the grid before the grinder comes to the end of its life.  Whether you will be able to replace the grid is a risk you have to take if you do this.

It is better to give all sides of your glass a quick arris before beginning to grind. Although technically, an arris is the edge of a piece, it has come to mean the modification of the edge in glass work.

www.pavingxpert.com

 An arris on the glass edges can be made by hand with a pass of a grinding stone on the top and bottom edges.  

www.delphiglass.com

It can also be done by a light pass of the glass along the grinding head. This arris protects your fingers too, as it removes the sharp edges of the glass.

www.ameriglasco.com

Make sure any points on the glass are slightly rounded, as they are most likely to get stuck in the grid.  You can nip the point with your grozers, or give a slight rounding of the point when making the arris.

It is important that you do not press down on the piece of glass. Press horizontally toward the grinder bit instead. The top is plastic and so deforms pretty easily.  With long pieces the bowing of the top means that the glass, which does not bow, will catch on the grid.  So, to keep the surface grid flat, hold long pieces at the ends.  This will remove any tendency to press down in the middle, as any downward pressure will be at the ends of the glass, allowing the grid to remain flat.


Wednesday, 5 August 2015

Channels for Jewellery

One way of providing attachments for chains is to make a channel in the piece. This is most often done by placing something between the glass pieces to maintain an opening for the chain to slide through. The materials can range from toothpicks, coated wire, rolled ceramic fibre paper and many other things which will stand up to the heat for the required time.

One of the requirements is to prevent needle points and drawbacks of the glass. There are a number of ways to do this. Some of them are noted here.

One method is to make pattern bars with a channel through the whole width of the bar. Then you need to cut the bar into strips (leaving the channel material in place), do any edge work required, and fire polish.

When creating a single piece from cut glass parts, you need to ensure the upper piece of glass extends beyond the lower piece by at least 3mm to allow the glass to bend over the channel and touch the lower piece. A little more than 3mm will allow the upper glass to curve over the bottom piece and create a rounded top with no evidence of the joining of the two pieces of glass.

Another method is to use two pieces of 2mm glass with full pieces above and below. The narrowest piece of glass will be about 3-4mm and placed at the top of the pendant. The largest piece will be long enough to give a 2mm gap between the two pieces. This is kept open by inserting two pieces of 1mm fibre paper into the gap. Then cap with the top piece of glass. All the glass can be of 2mm thickness, as the three layers will give the desired 6mm thickness.

Finally, a tack fuse firing can help to avoid the needling that can occur at the channel, as the glass is so much thinner than the 6mm required for a full fuse. This means that you can do the work in stages. First fire the elements to the desired state, then combine them for a tack fuse when creating the channel.


If you use a clear middle glass, you can create a depth by having a design on both the bottom and top layers of glass.